How to pair your Pay Terminal Plus with your Apple device
Learn how to quickly and easily connect your Pay Terminal Plus with your Apple device.

Table of Contents
Welcome to your new Pay Terminal Plus! You can connect your Pay Terminal Plus (PTP) to one or more of your Apple devices via Wi-Fi and accept card payments.
Technical requirements
- For the connection with Pay Terminal Plus to work, at least iOS 13 or iPadOS 13 must run on your Apple devices. Here's how to check the version and update it if necessary: Update your iPhone or iPad (https://support.apple.com/en-gb/HT204204)
- Your Apple device(s) and the Pay Terminal Plus must be in the same Wi-Fi! Otherwise, the devices won't find each other, and you won't be able to make card payments later
Checklist for a quick start: What do you need?
Well, you need two things: several login credentials and well-prepared devices :).
Your login credentials
- PIN code of a Manager to access the settings of orderbird PRO
- PIN code of your Apple device that will be connected with the Pay Terminal Plus
- Your MY orderbird login credentials
- Wi-Fi name as well as your Wi-Fi password
- Your Apple ID and the corresponding password
Well-prepared devices at hand
- You require at least the orderbird PRO App Version 7.6.1 on all your Apple devices. Should you have still an older version, please update the App
- Properly charged devices or charging cable ready
-
At least iOS 15 on your Apple devices. Here you can read how to check the iOS version and update it: Update your iPhone, iPad or iPod touch
(https://support.apple.com/en-gb/HT204204) - Your Apple device(s) and your Pay Terminal Plus has to be connected to the same Wi-Fi Network. Otherwise, they will not be able to find each other, and therefore you will not be able to accept card payments.
In a nutshell
- Open your orderbird PRO app and go to Settings > Payment > Payment Terminal > Manage Terminals and activate “Wi-Fi terminal”. Tap on “Connecting Wi-Fi Terminals to this device” and scan the displayed QR code with the camera on the back of your Pay Terminal Plus. Then follow the setup wizard on your Pay Terminal Plus.
- If you have a Pay Terminal One (Miura card reader), the connection to it will be deactivated automatically.
Let's go
Place your Apple device(s) next to your Pay Terminal Plus. First take the Pay Terminal Plus and switch it on.
On your Pay Terminal Plus
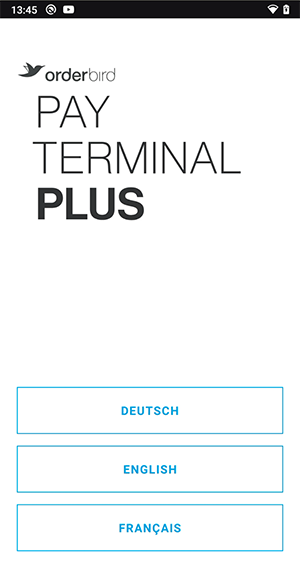
- First select one of three languages: German, English or French.
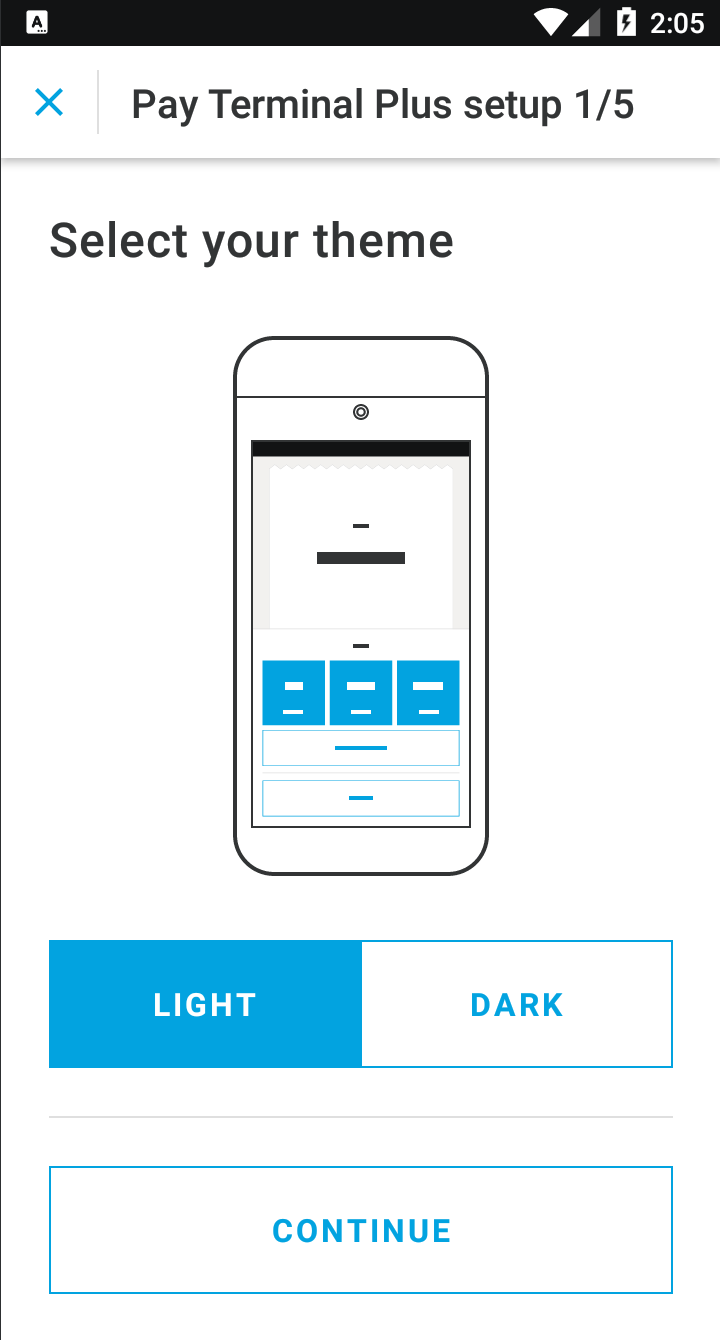
- Now set up your Pay Terminal Plus in five steps.
- Choose a light or dark user interface and tap “Continue”.
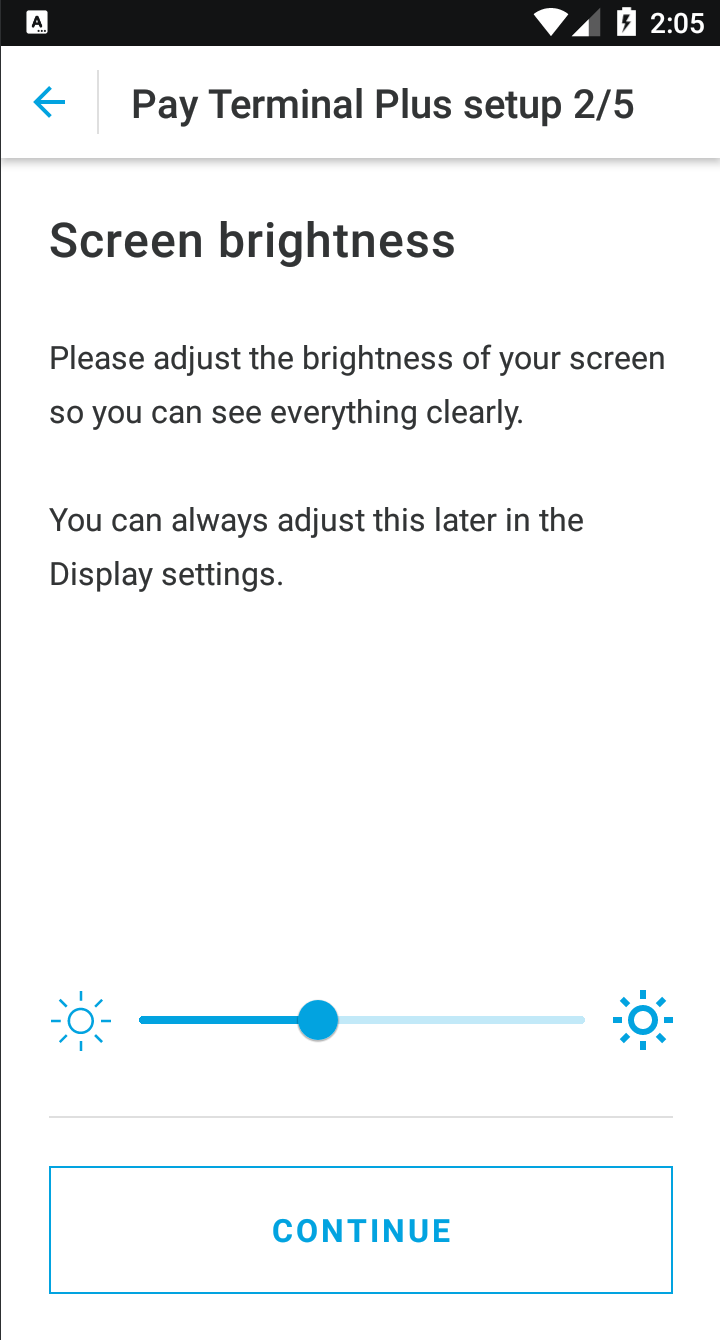
- Adjust the screen brightness.
- Connect to the same Wi-Fi as your Apple device.
Here, you can see if your Pay Terminal Plus is already connected to a Wi-Fi network: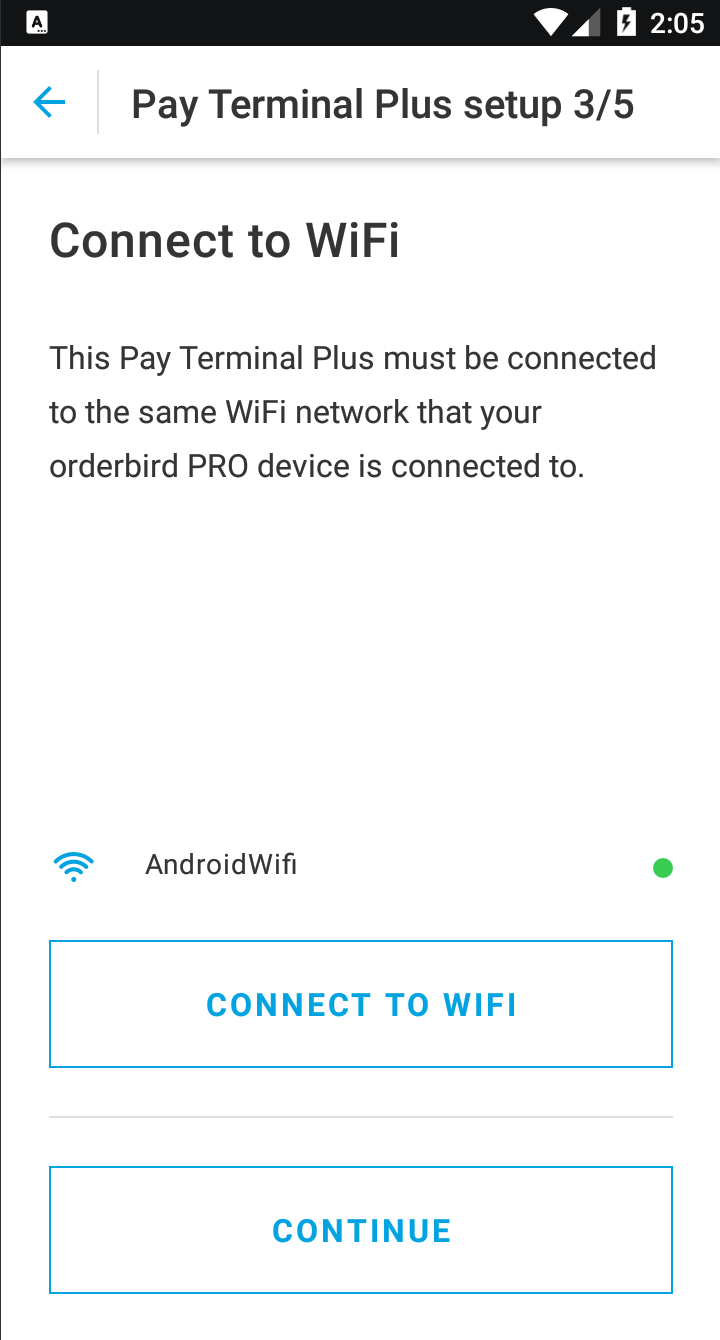
- Tap on “Connect to Wi-Fi” if you are not connected to any network or to a network other than your orderbird Wi-Fi. All Apple devices and Pay Terminal Plus must be on the same Wi-Fi network! Otherwise, the devices cannot connect, and you will not be able to make card payments later. If you are no longer sure which Wi-Fi your Apple device is connected to, you can quickly find out in your orderbird app (DE only).
- Tap on “Continue” when the Pay Terminal Plus is in the correct Wi-Fi.
- Give the card reader a name. You can use up to 21 characters.

- Select the time for automatic standby.

- Tap on “No Standby”, to set a different duration. You can choose between 1 minute, 2, 5, 10 or 30 minutes, as well as “No standby”.

- Tap on “No Standby”, to set a different duration. You can choose between 1 minute, 2, 5, 10 or 30 minutes, as well as “No standby”.
- Tap on “Continue” if you agree with the displayed time.
- Choose a light or dark user interface and tap “Continue”.
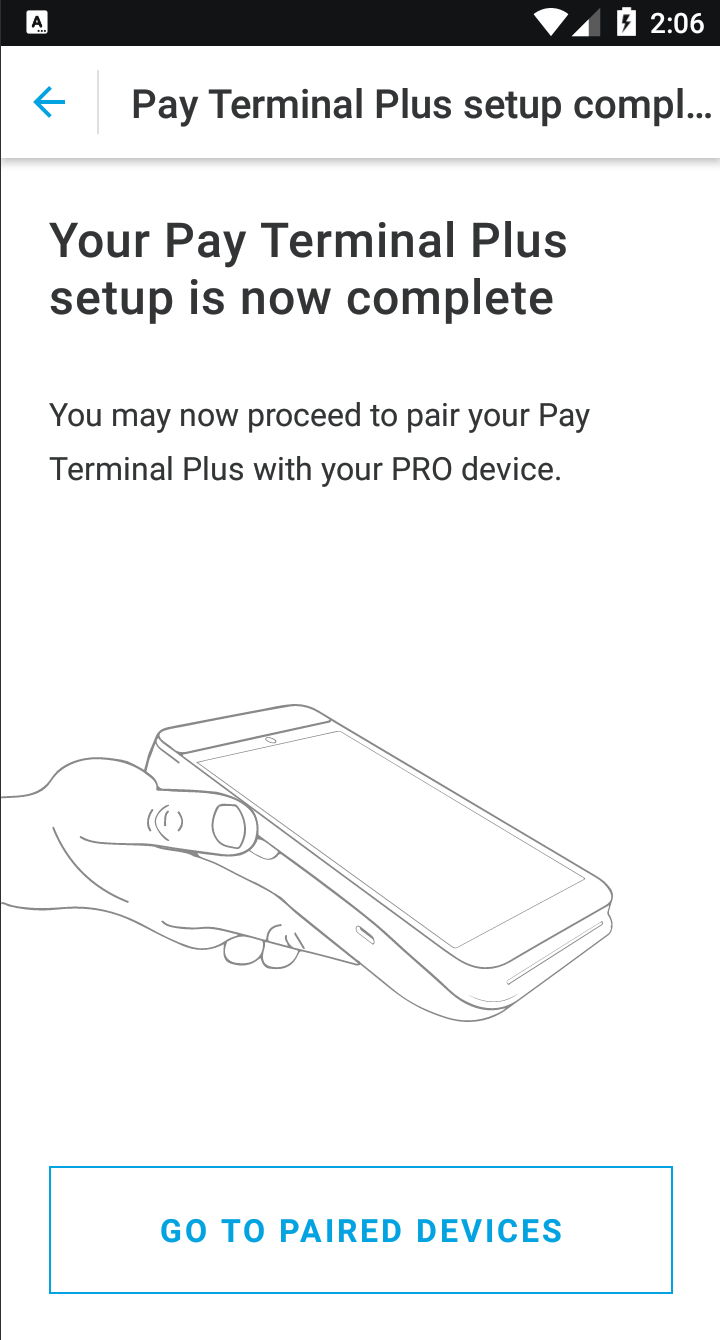
- Now tap on “GO TO PAIRED DEVICES”.
Now grab your Apple device.
On your Apple device
- Open your orderbird app. Make sure you have the newest version of the orderbird PRO App installed
- Make sure that your shift is closed!
- Go “Settings” > “Payment” > “Payment Terminal”.

- Tap on “Manage Terminals”
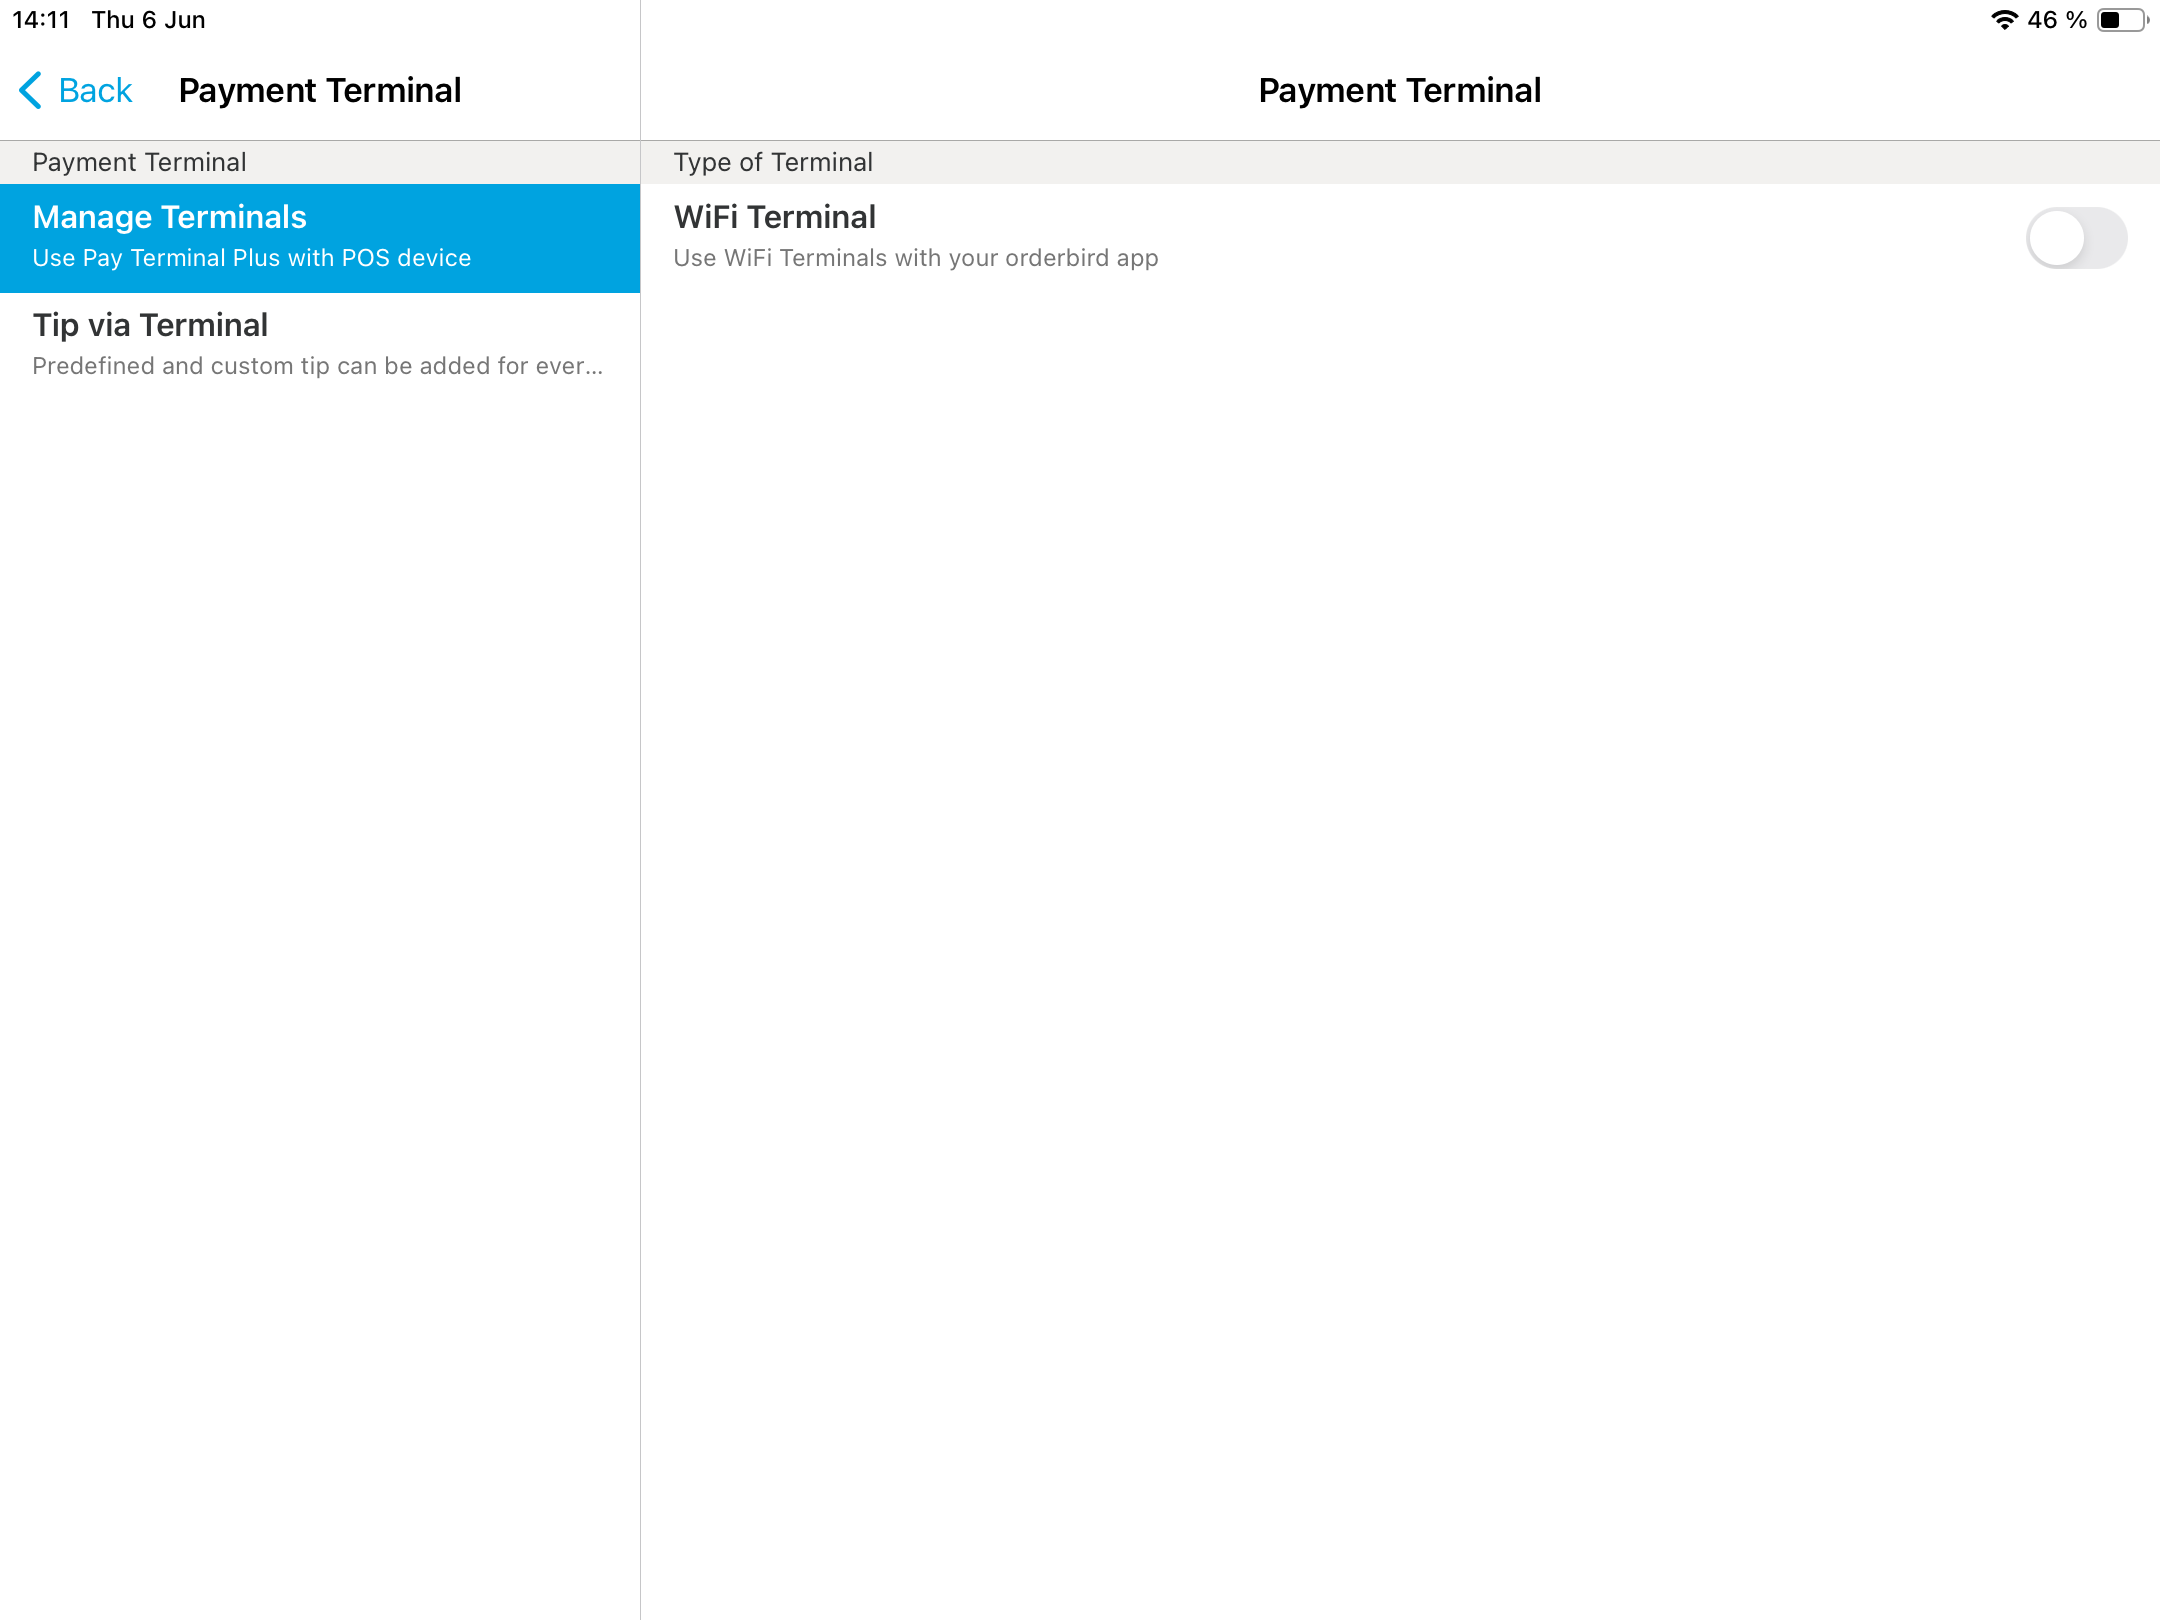
- Activate “Wi-Fi Terminal” on the right side, then tap “Continue” to switch from Bluetooth and a Pay Terminal One (Miura card reader) to Wi-Fi and Pay Terminal Plus.

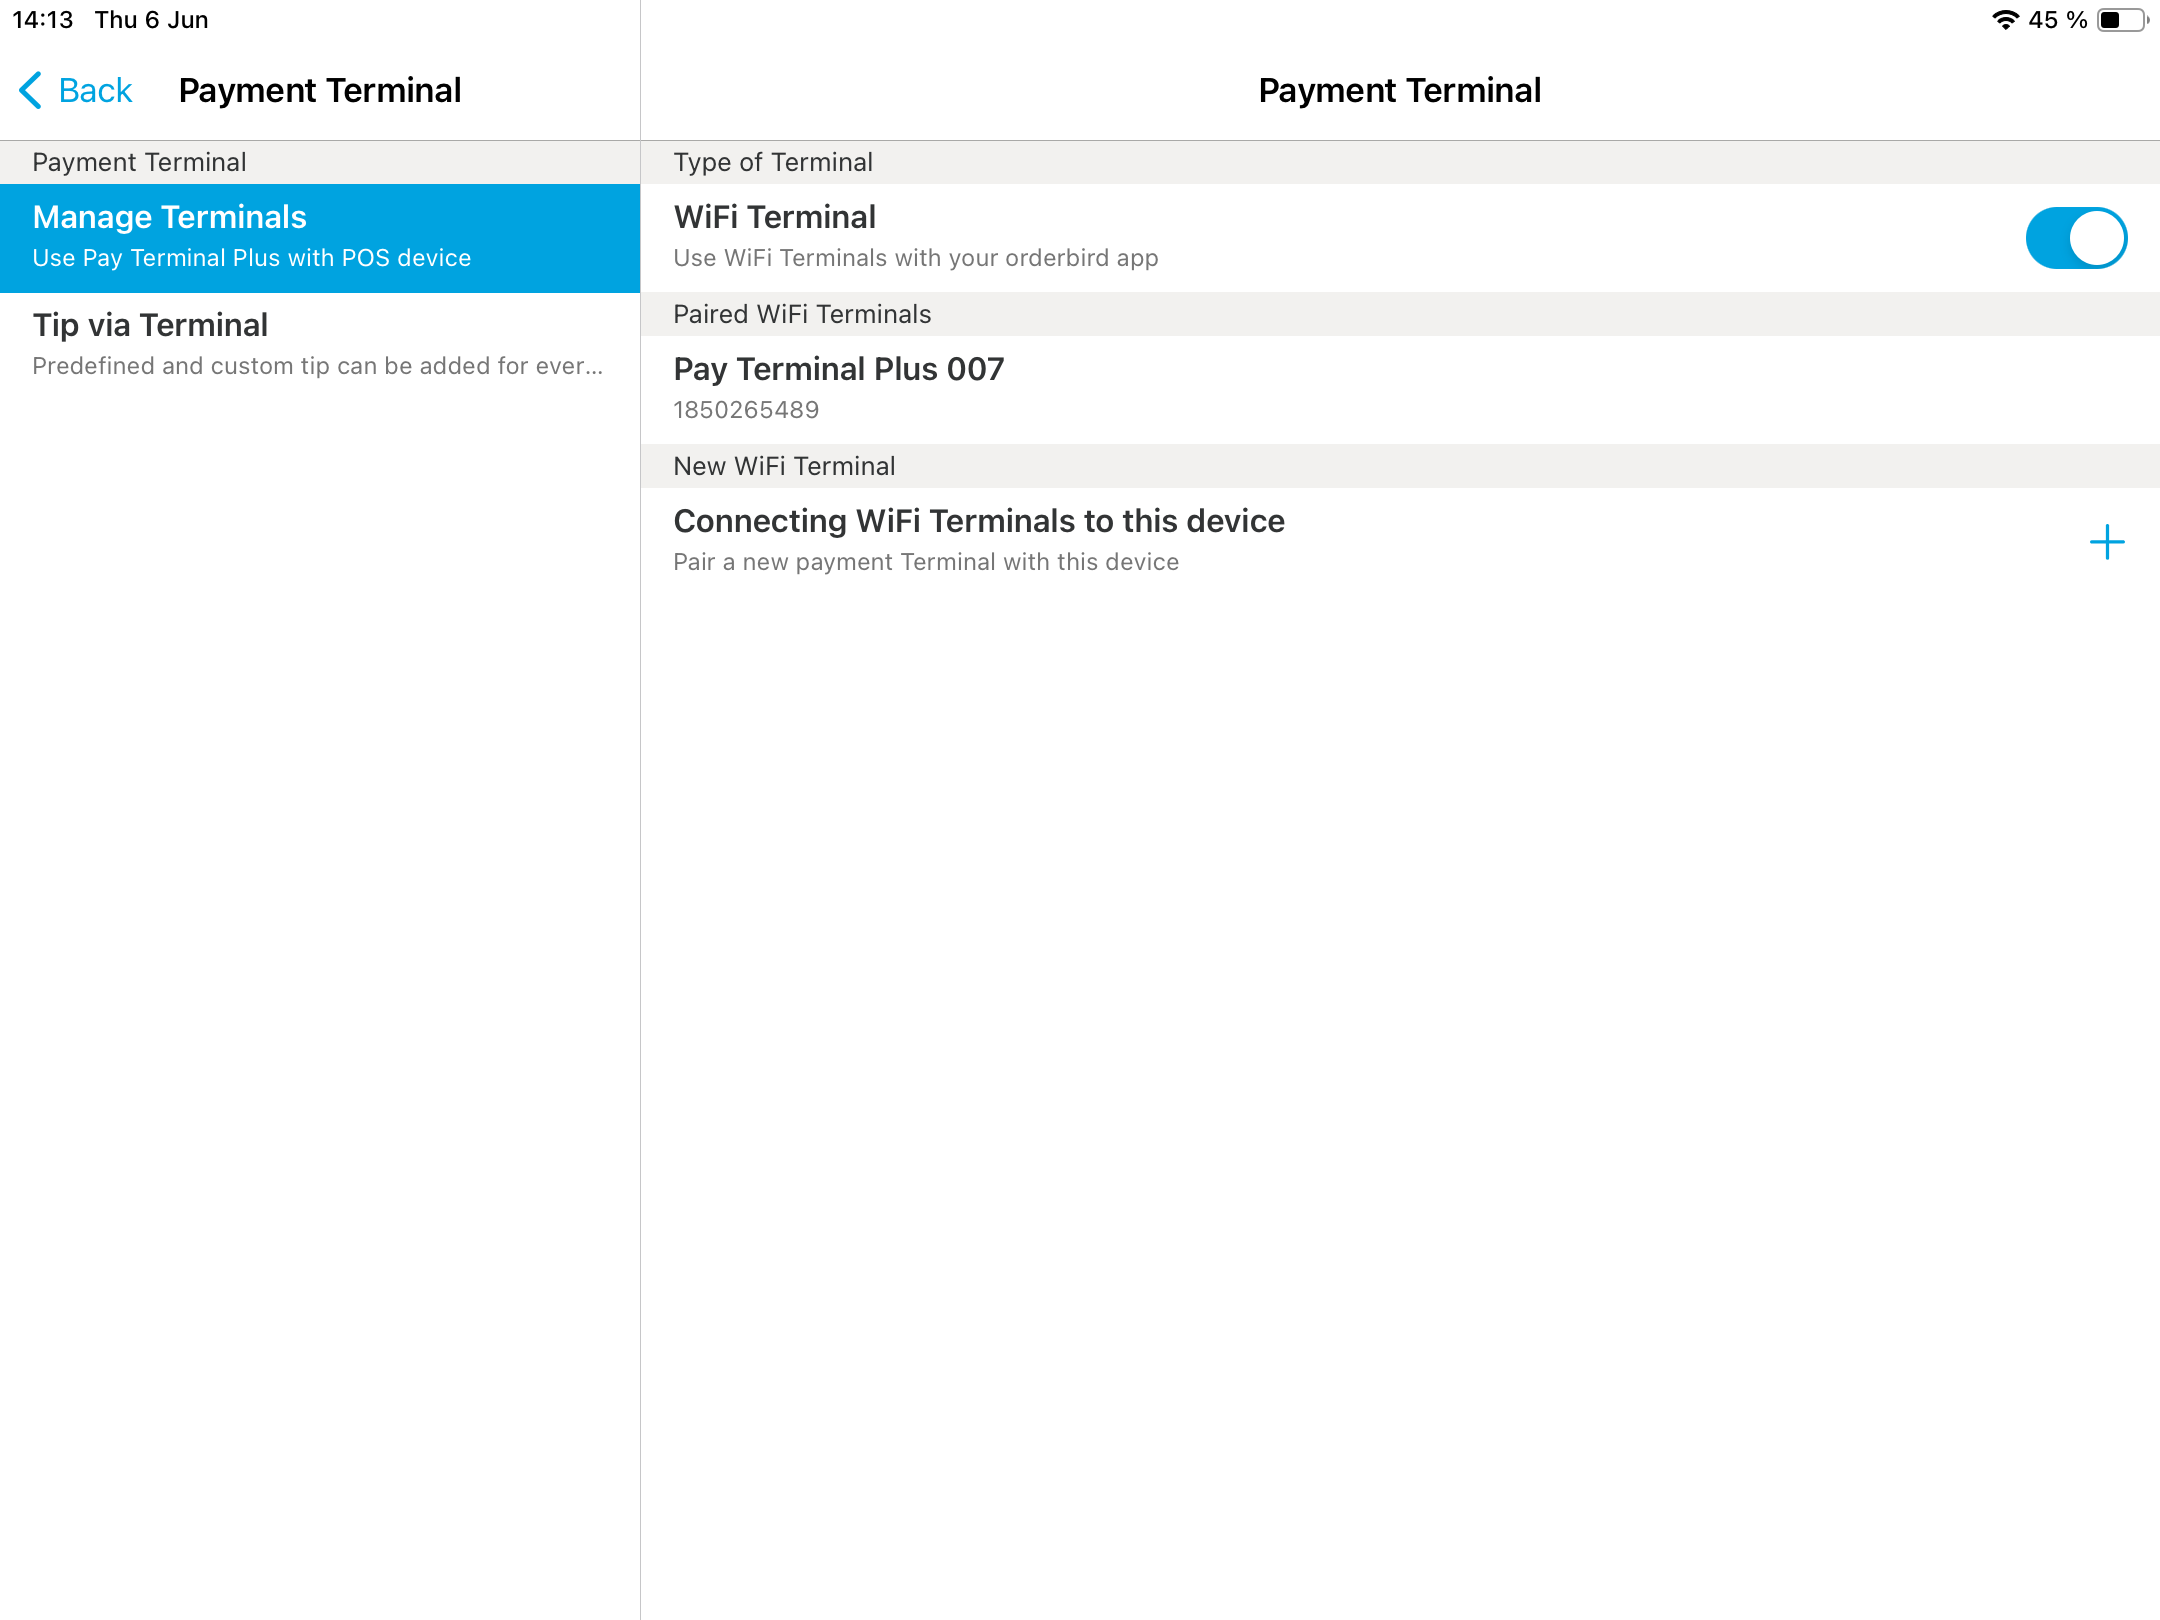
- Tap on the plus sign “+” in the new line “Connecting Wi-Fi Terminals to this device”.

- Confirm that orderbird POS is allowed to find devices in your network and establish connections. Otherwise, there will be no data exchange with the Pay Terminal Plus!
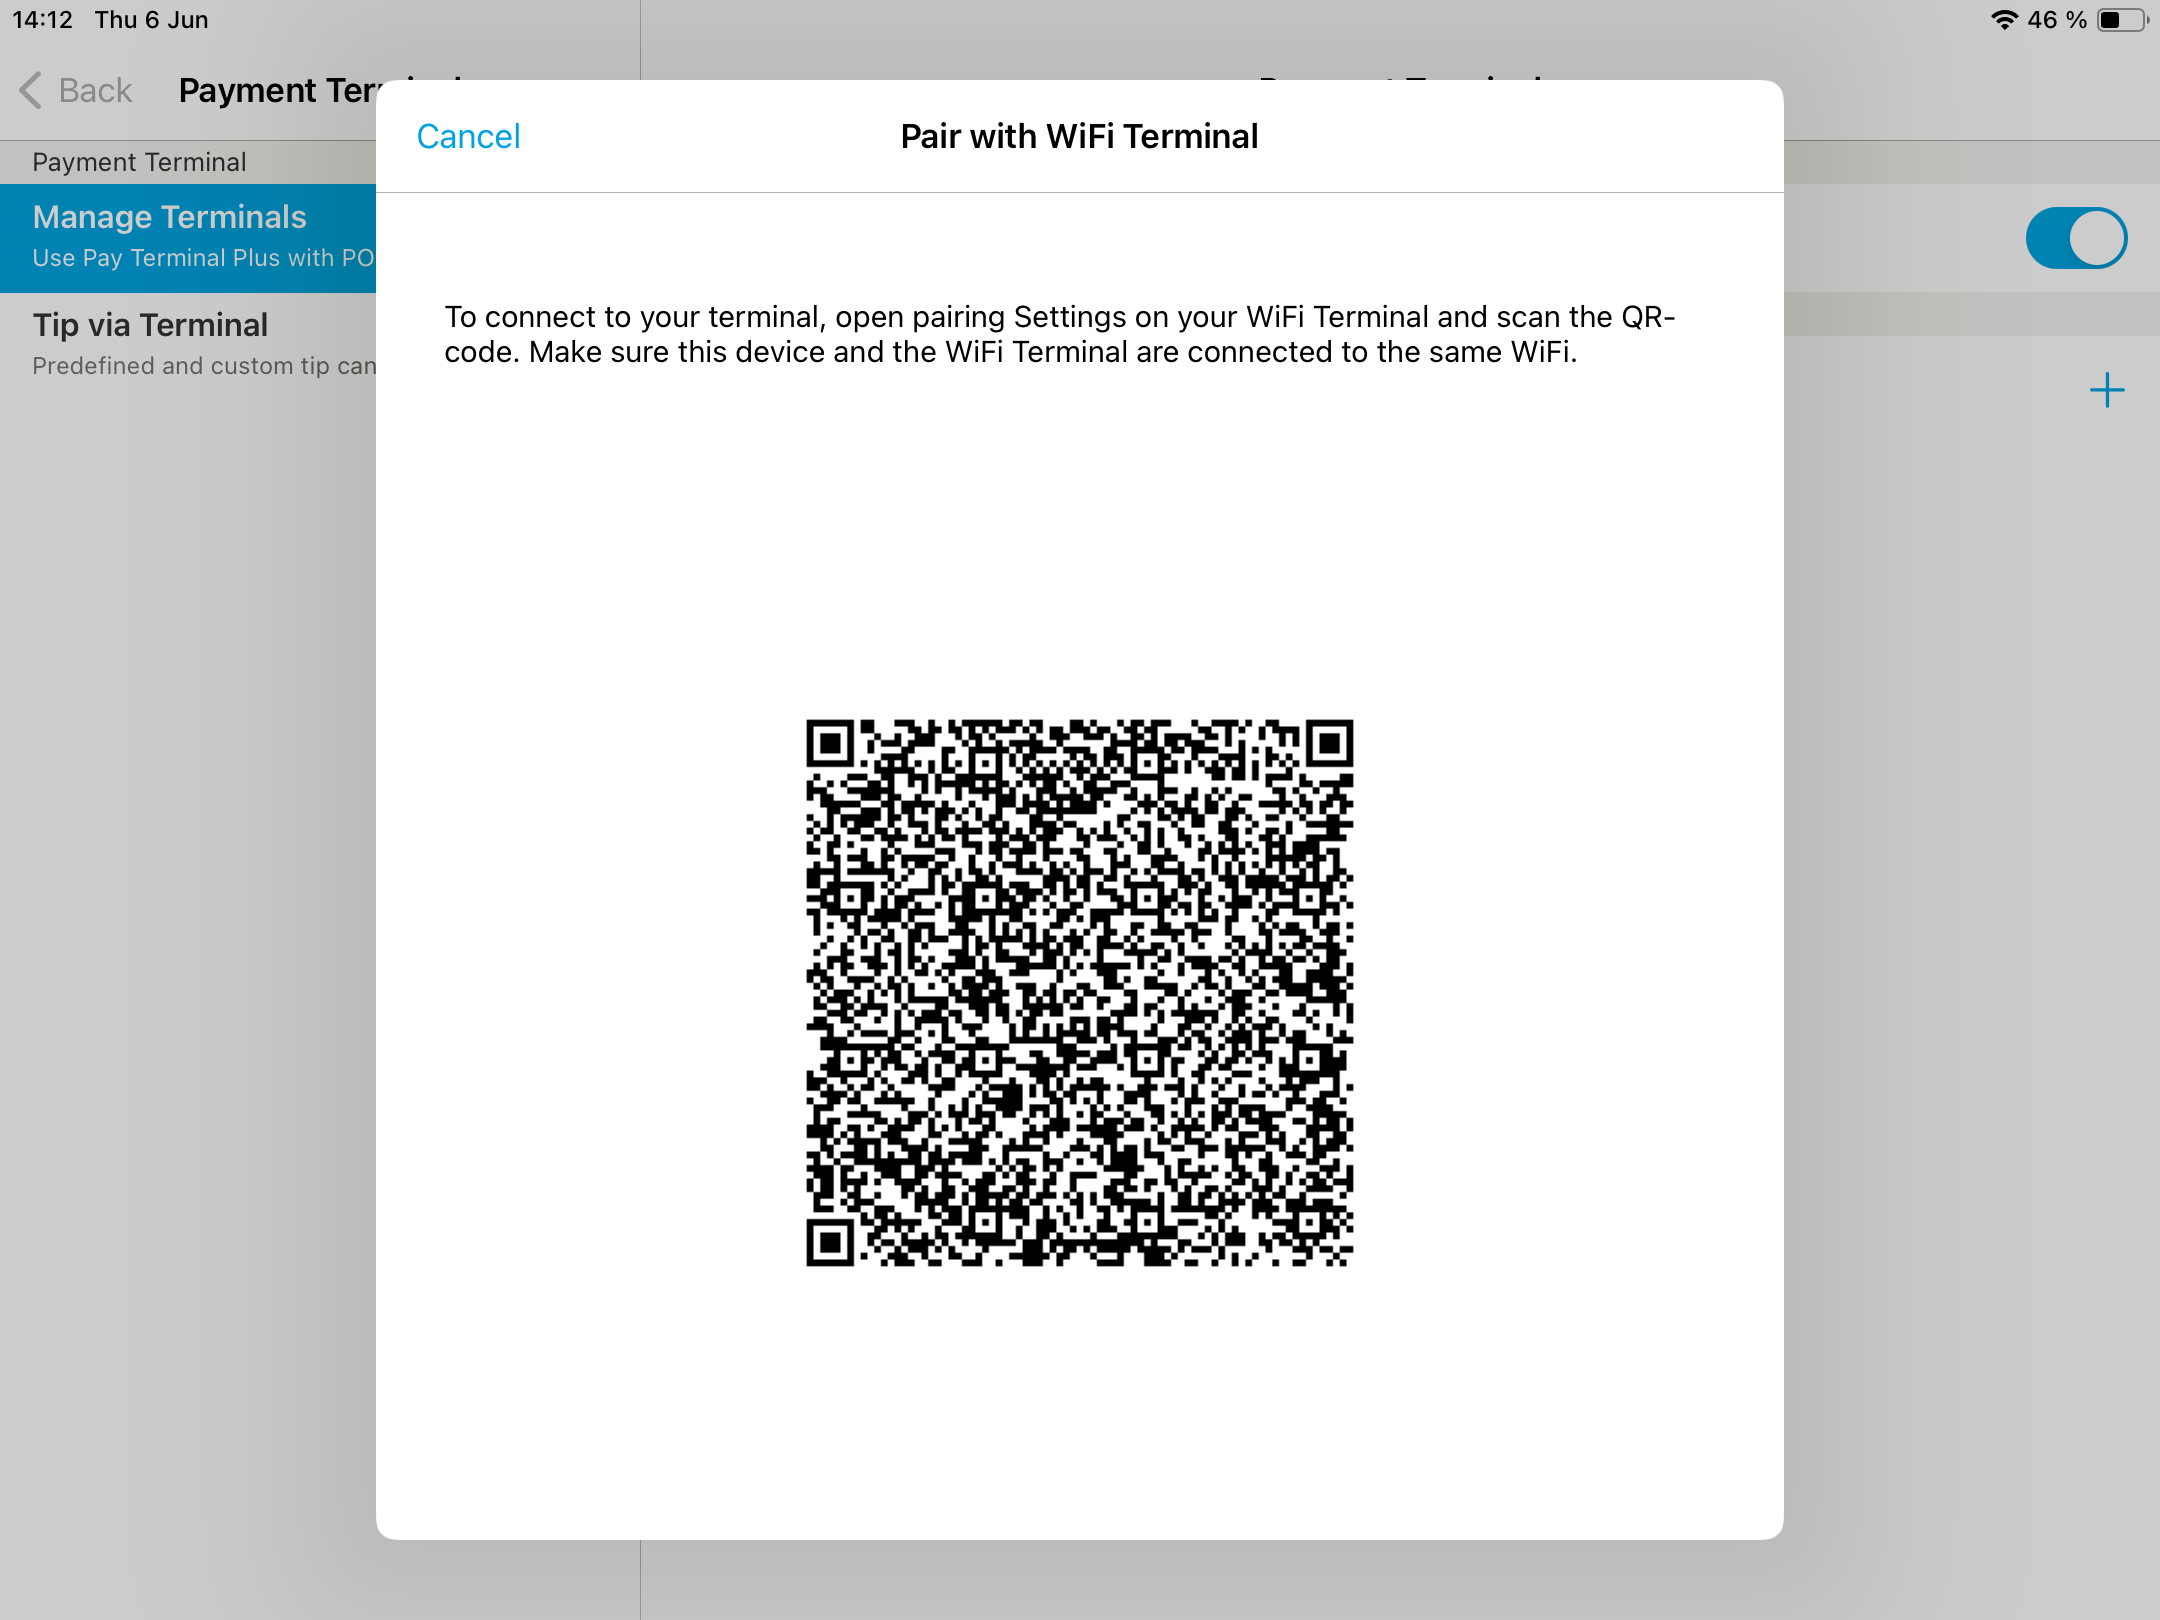
- A window with QR code appears.
Now you can continue on the Pay Terminal Plus.
Back to the Pay Terminal Plus
- Tap on “GO TO PAIRED DEVICES ”.
- Hold the Pay Terminal Plus over your Apple device so that the QR code on your Apple device can be scanned by the integrated camera of the Pay Terminal Plus.
Switch back to orderbird PRO
- Tap on “OK”, if you want to have your logo on the Pay Terminal Plus.

- You find your newly paired Pay Terminal Plus with its name in the section “Paired Wi-Fi Terminals” of your orderbird PRO app
- Done!
Any questions?
How can I switch back to the Pay Terminal One, if the Pay Terminal Plus does not work?
Easy: go to Settings > Payment > Payment Terminal > Manage Terminal and deactivate the Wi-Fi Terminal. Done!
In case your Pay Terminal One does not connect properly, please pair it with your Apple device again: How do I pair my Pay Terminal One with a different Apple device?