How does the registration for card payment with orderbird PRO and Worldline proceed?
Learn how to efficiently register for card payment using orderbird PRO and Worldline, streamlining your payment processes and providing convenience for both you and your customers.
Table of Contents
If you are considering starting with Worldline, you can get an overview of how easy and fast you can begin with card payment and orderbird.
Let's go
- Provide us with your data on the phone or by e-mail.
- After that, you will receive a mail from Worldline. Click on the link in this mail.
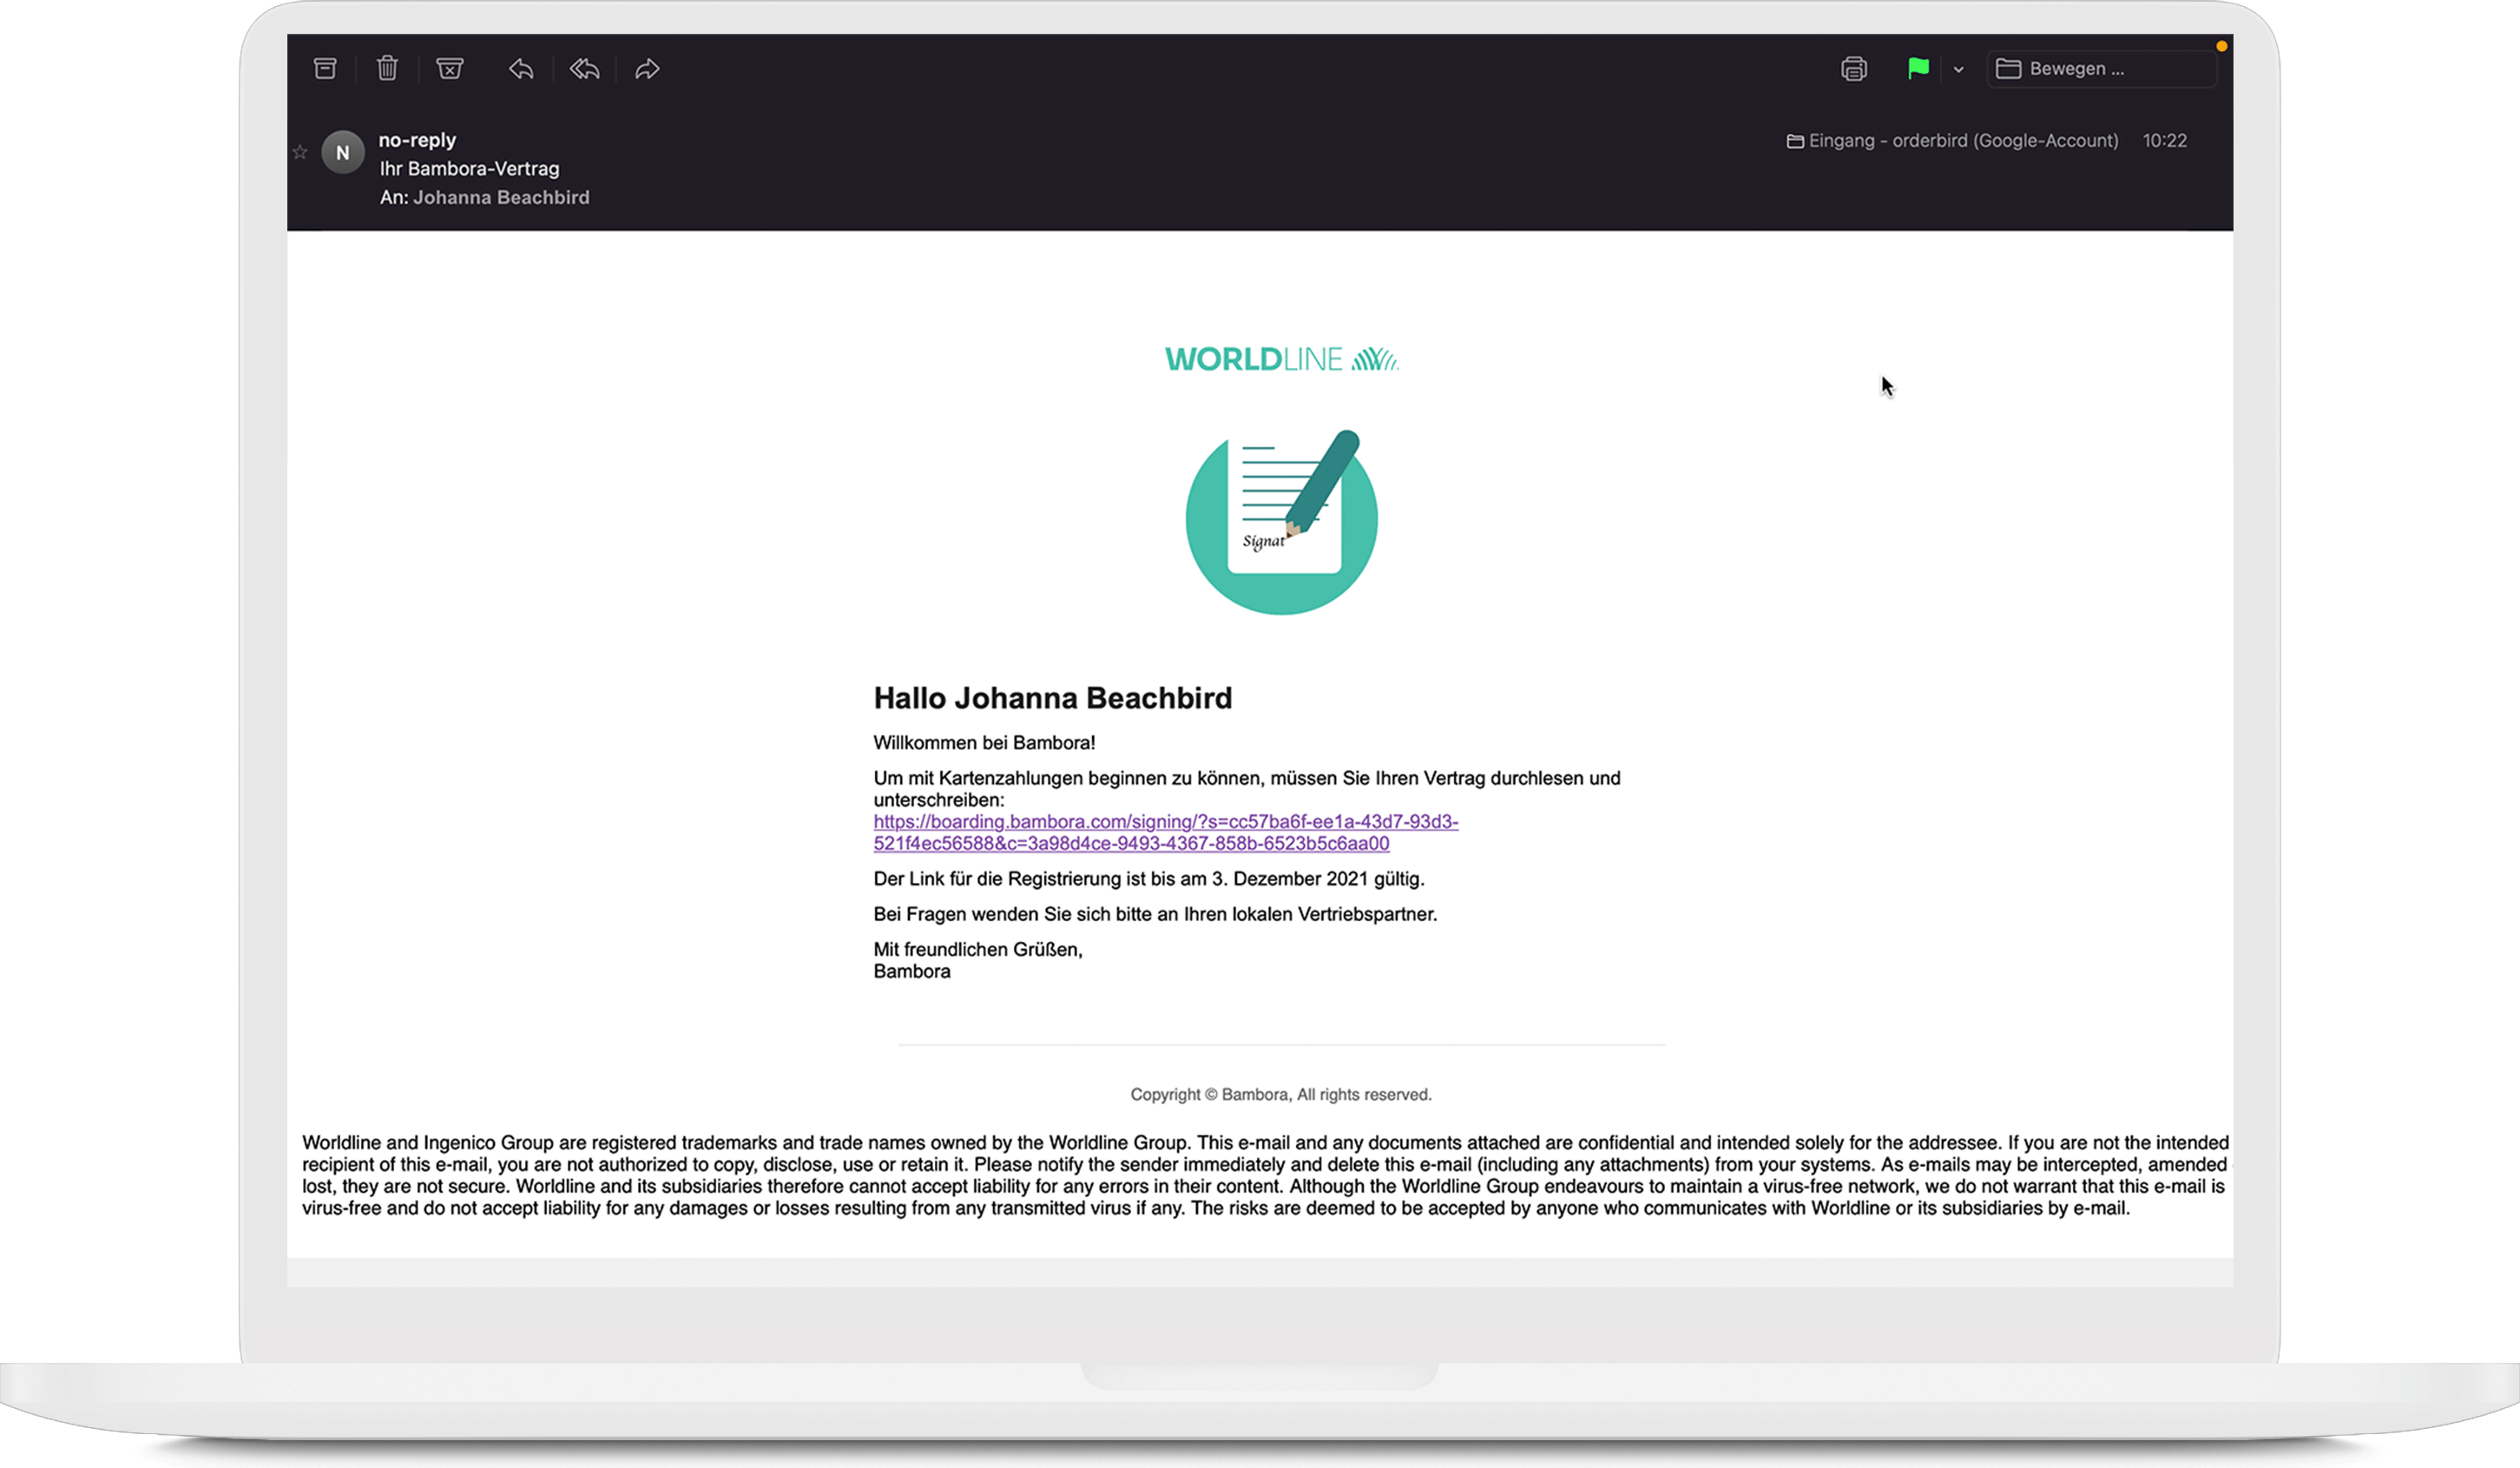
- On the new page, you and any additional signatories can review the contract and download it as a PDF. To do this, click on “eine Zusammenfassung Ihres Vertrages ansehen” (view a summary of your agreement)!

- All the details in your agreement are correct? Great! Now, please provide your bank account for the payout of your revenues.

- Click on “Bestätigen Sie Ihr Bankkonto” and enter the IBAN and the account holder’s name. The account holder must be the company name. For sole proprietorships, this is the name of the owner, while for all other types of companies, it should be the registered company name. Third-party bank accounts (belonging to other individuals or companies) are not permitted.
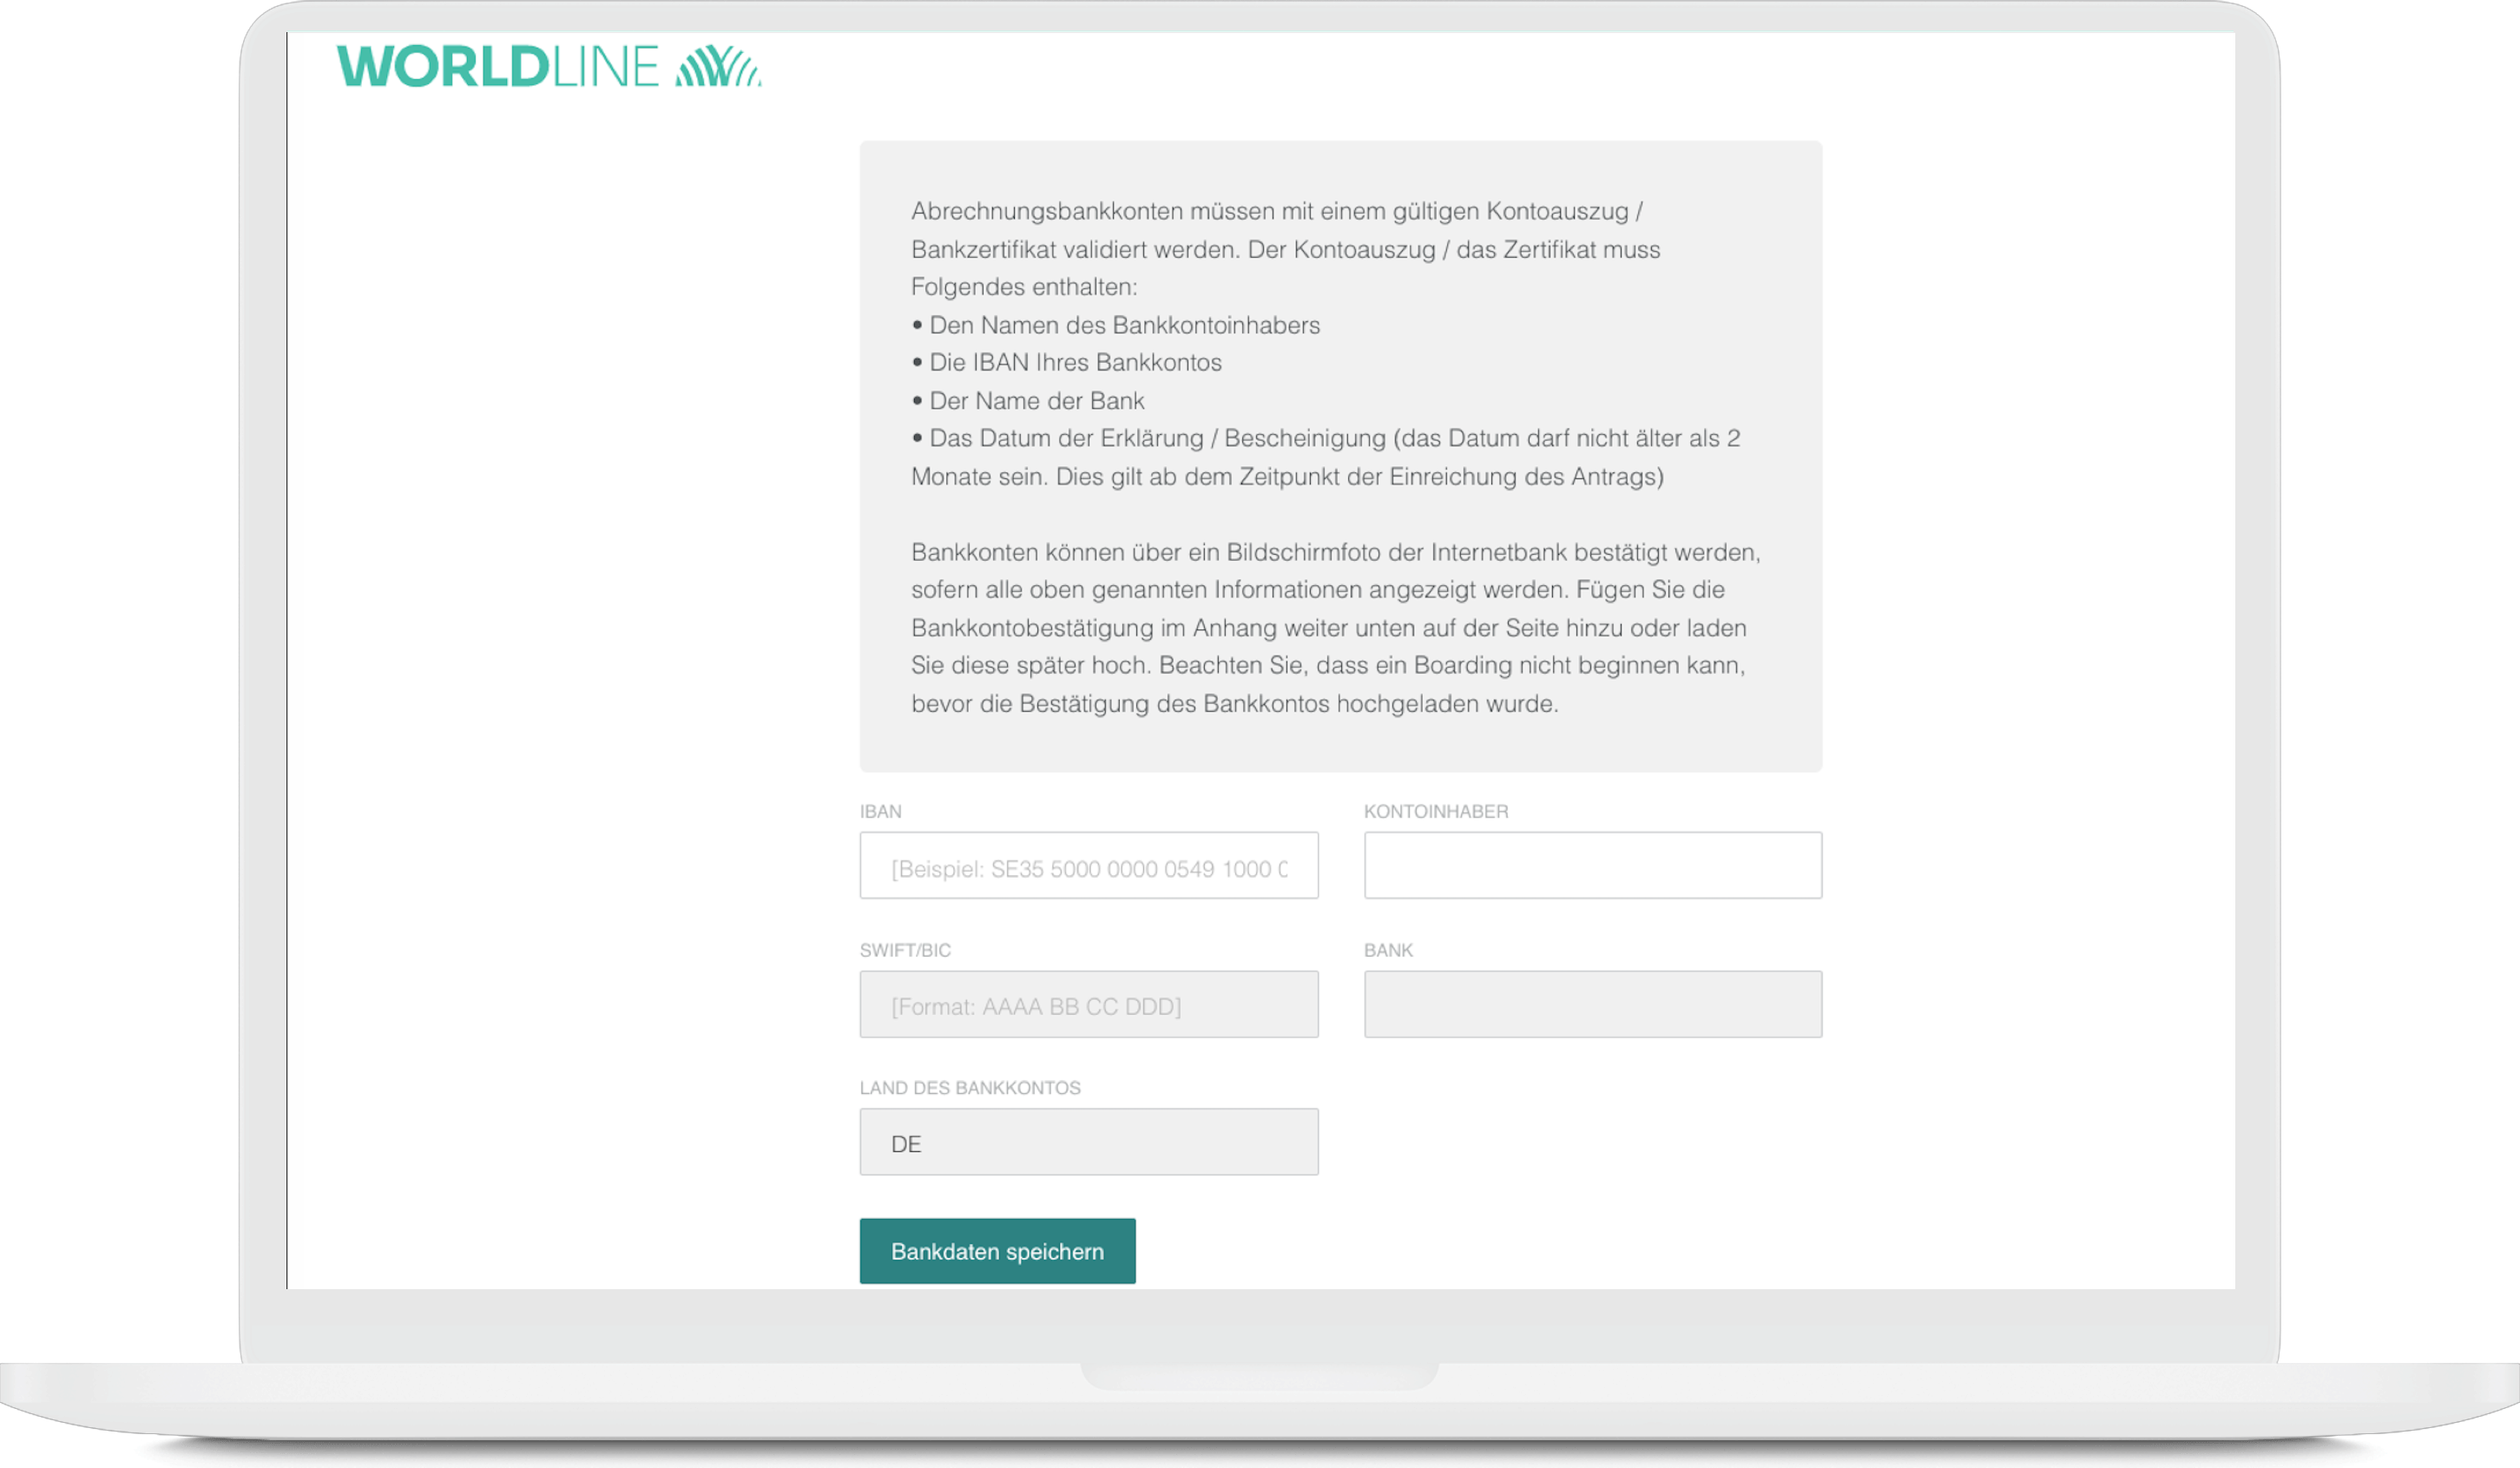
- Upload a confirmation of your bank account in the attachment. Proof of an active bank account is mandatory for registration with Worldline. The easiest way to do this is with a bank statement from the last month. Your bank proof must show the following four details:
- Name or logo of your bank
- Account holder’s name
- IBAN
-
A date no older than 2 months
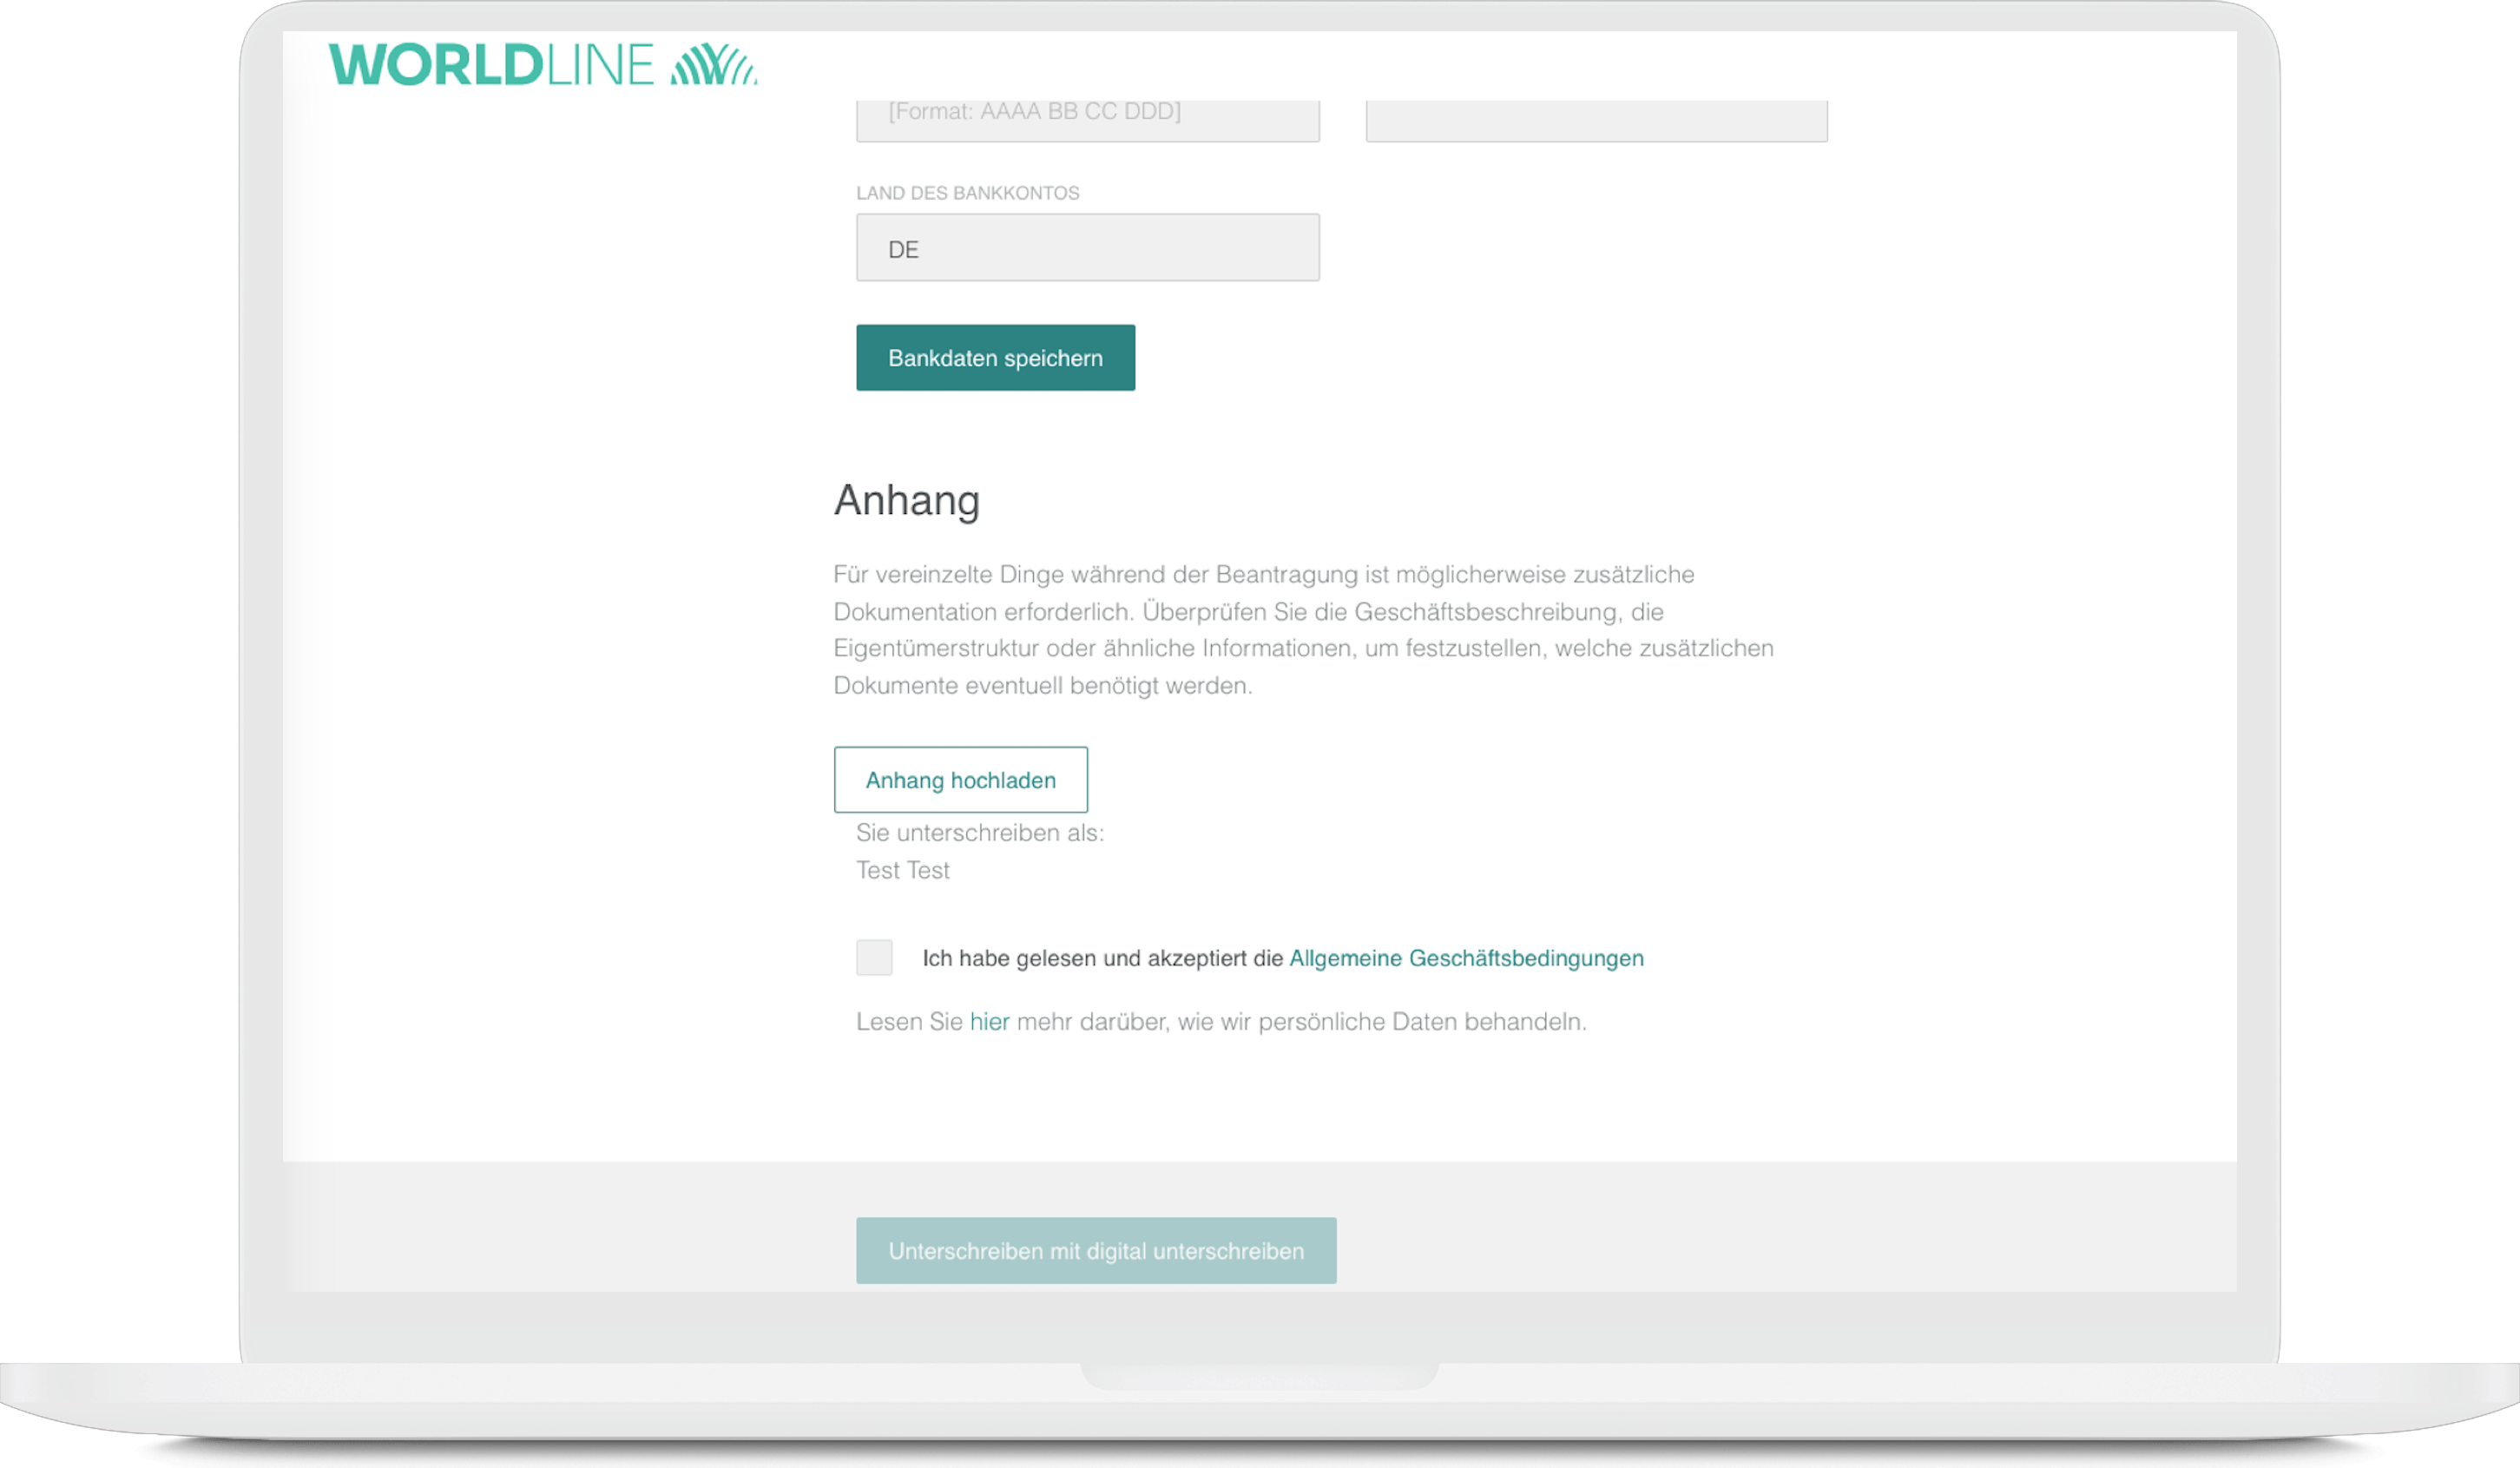
Confidential information can, of course, be hidden.
- Then check the box of „Ich habe gelesen und akzeptiere die Allgemeine Geschäftsbedingungen“.
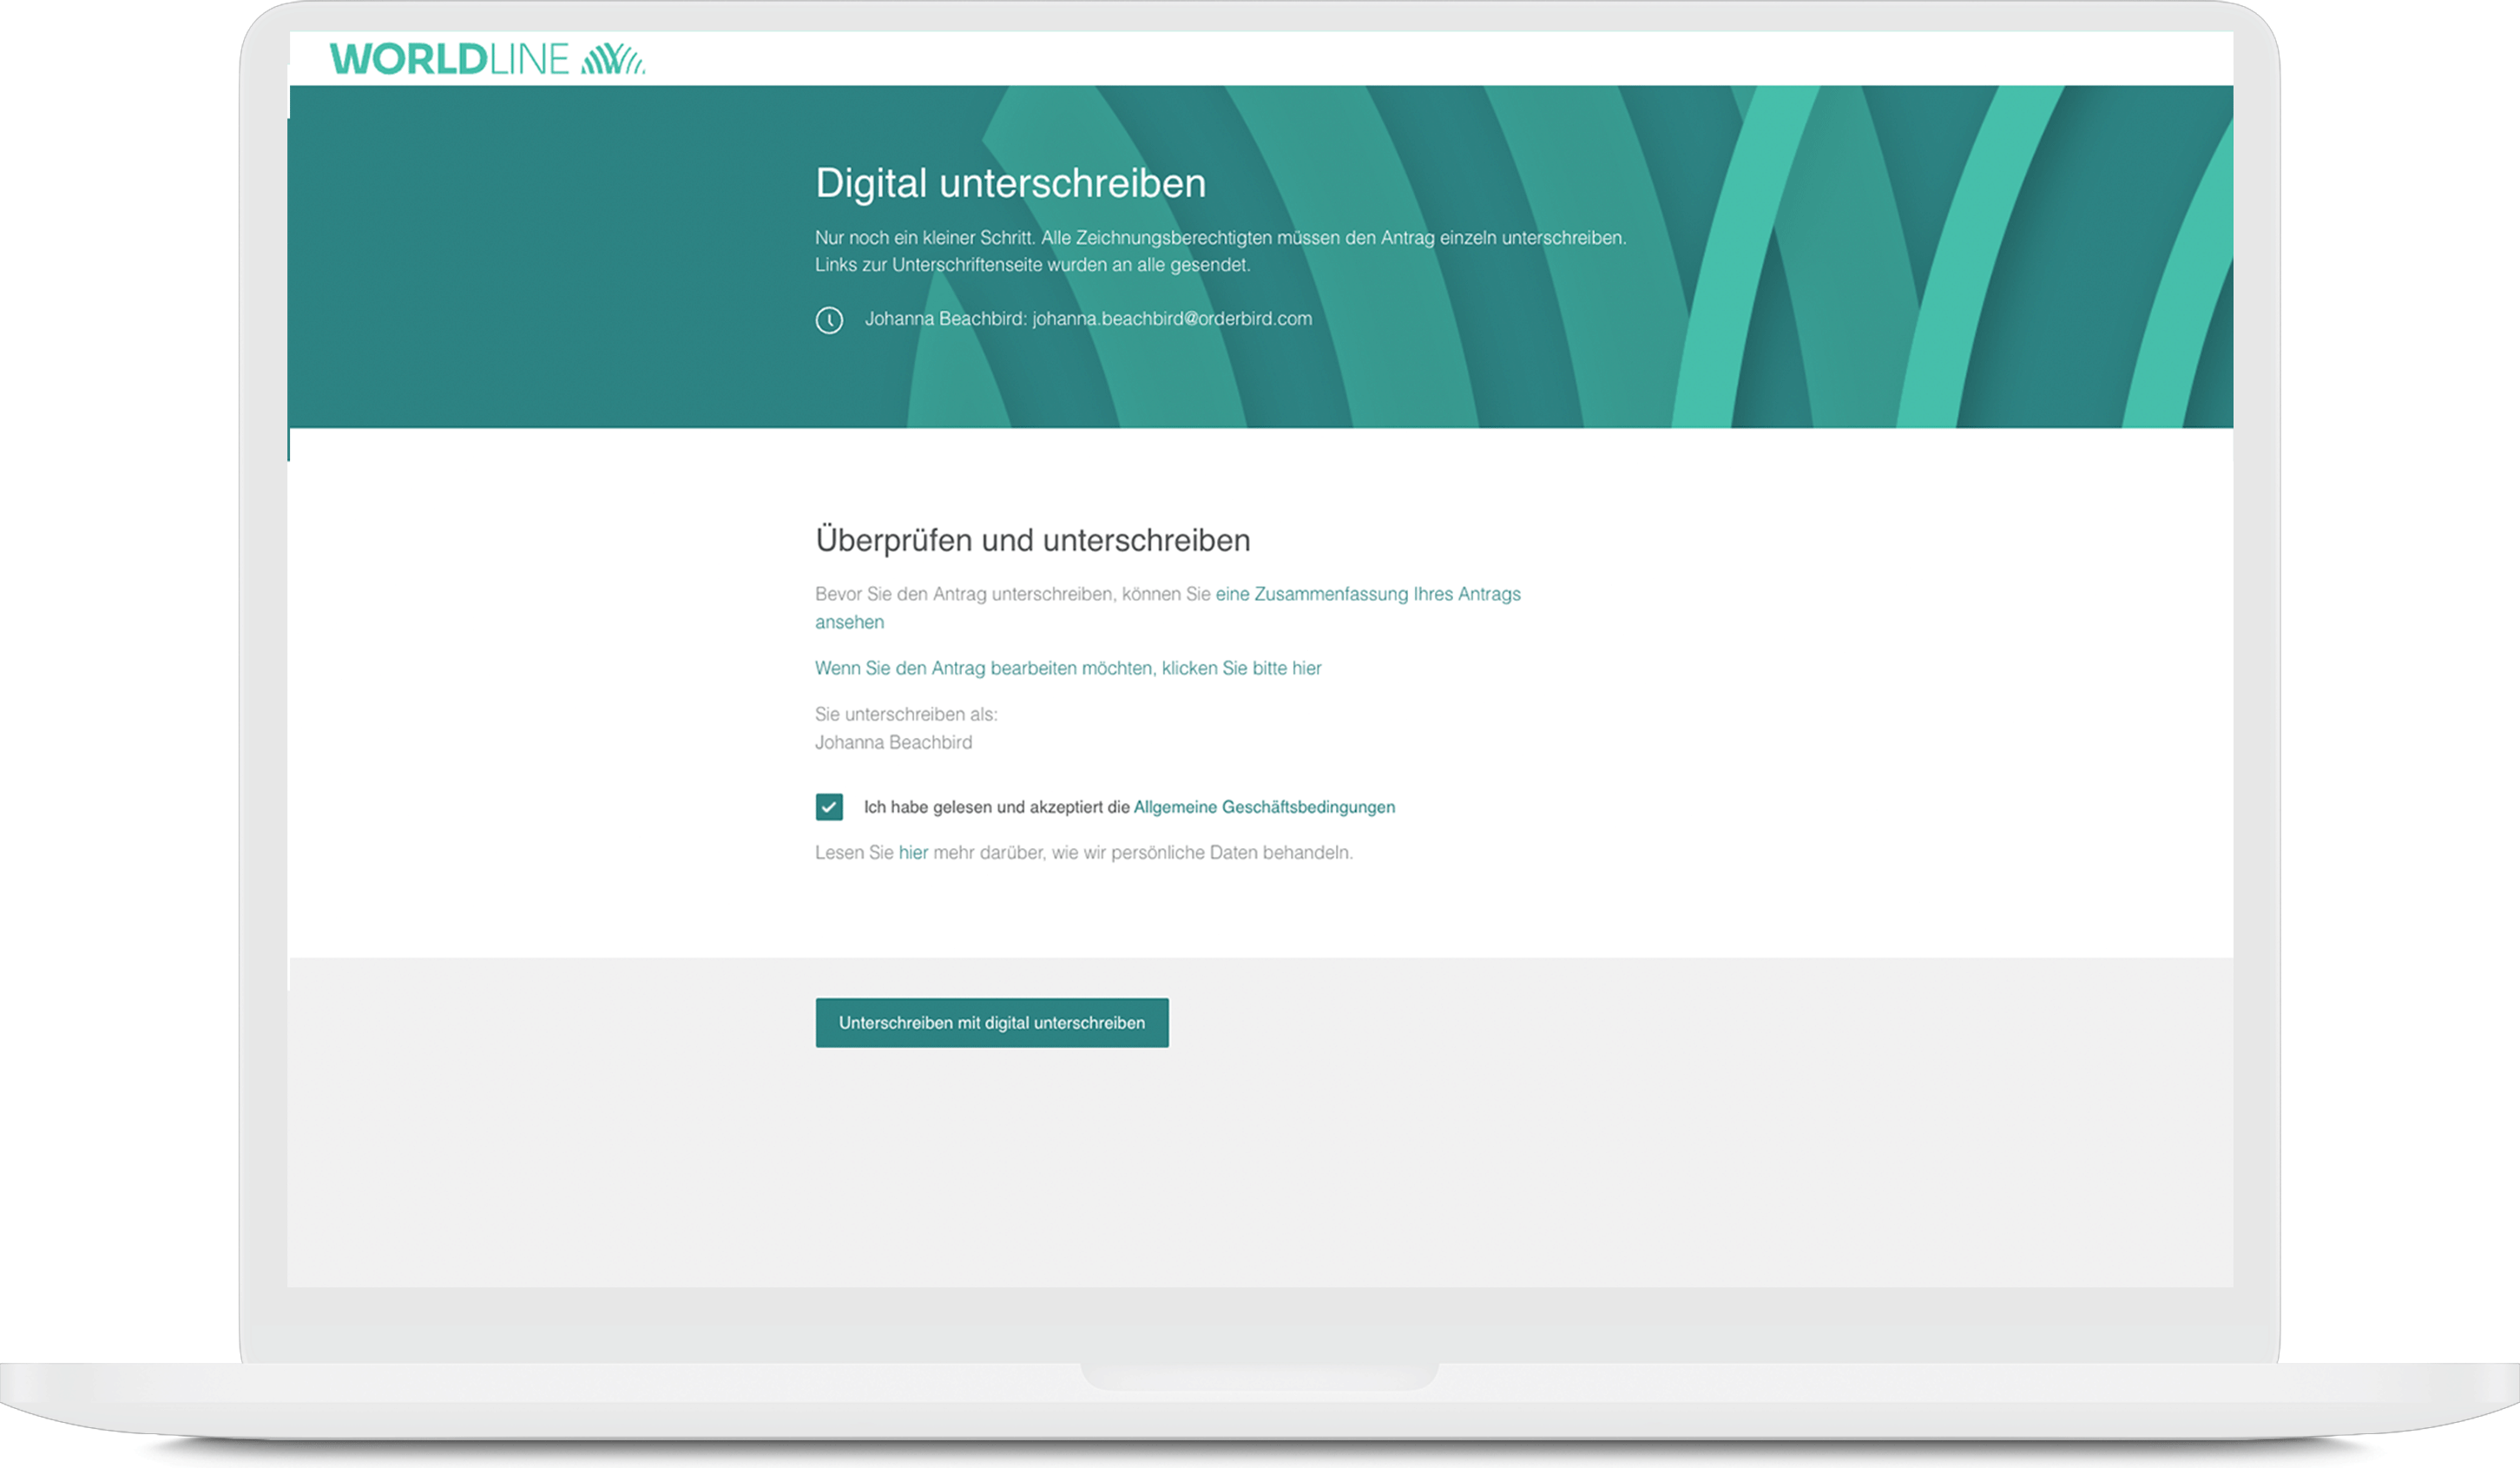
- Click on “Unterschreiben mit digital unterschreiben” (sign with a digital sign)
- Then click on "Dokument signieren" (sign the agreement). Should you still wish to correct something, go back to step 3.
In case your browser asks now if signature.signicat.com does have access to your camera, please allow it. This way, you can take the requested photos directly with your webcam.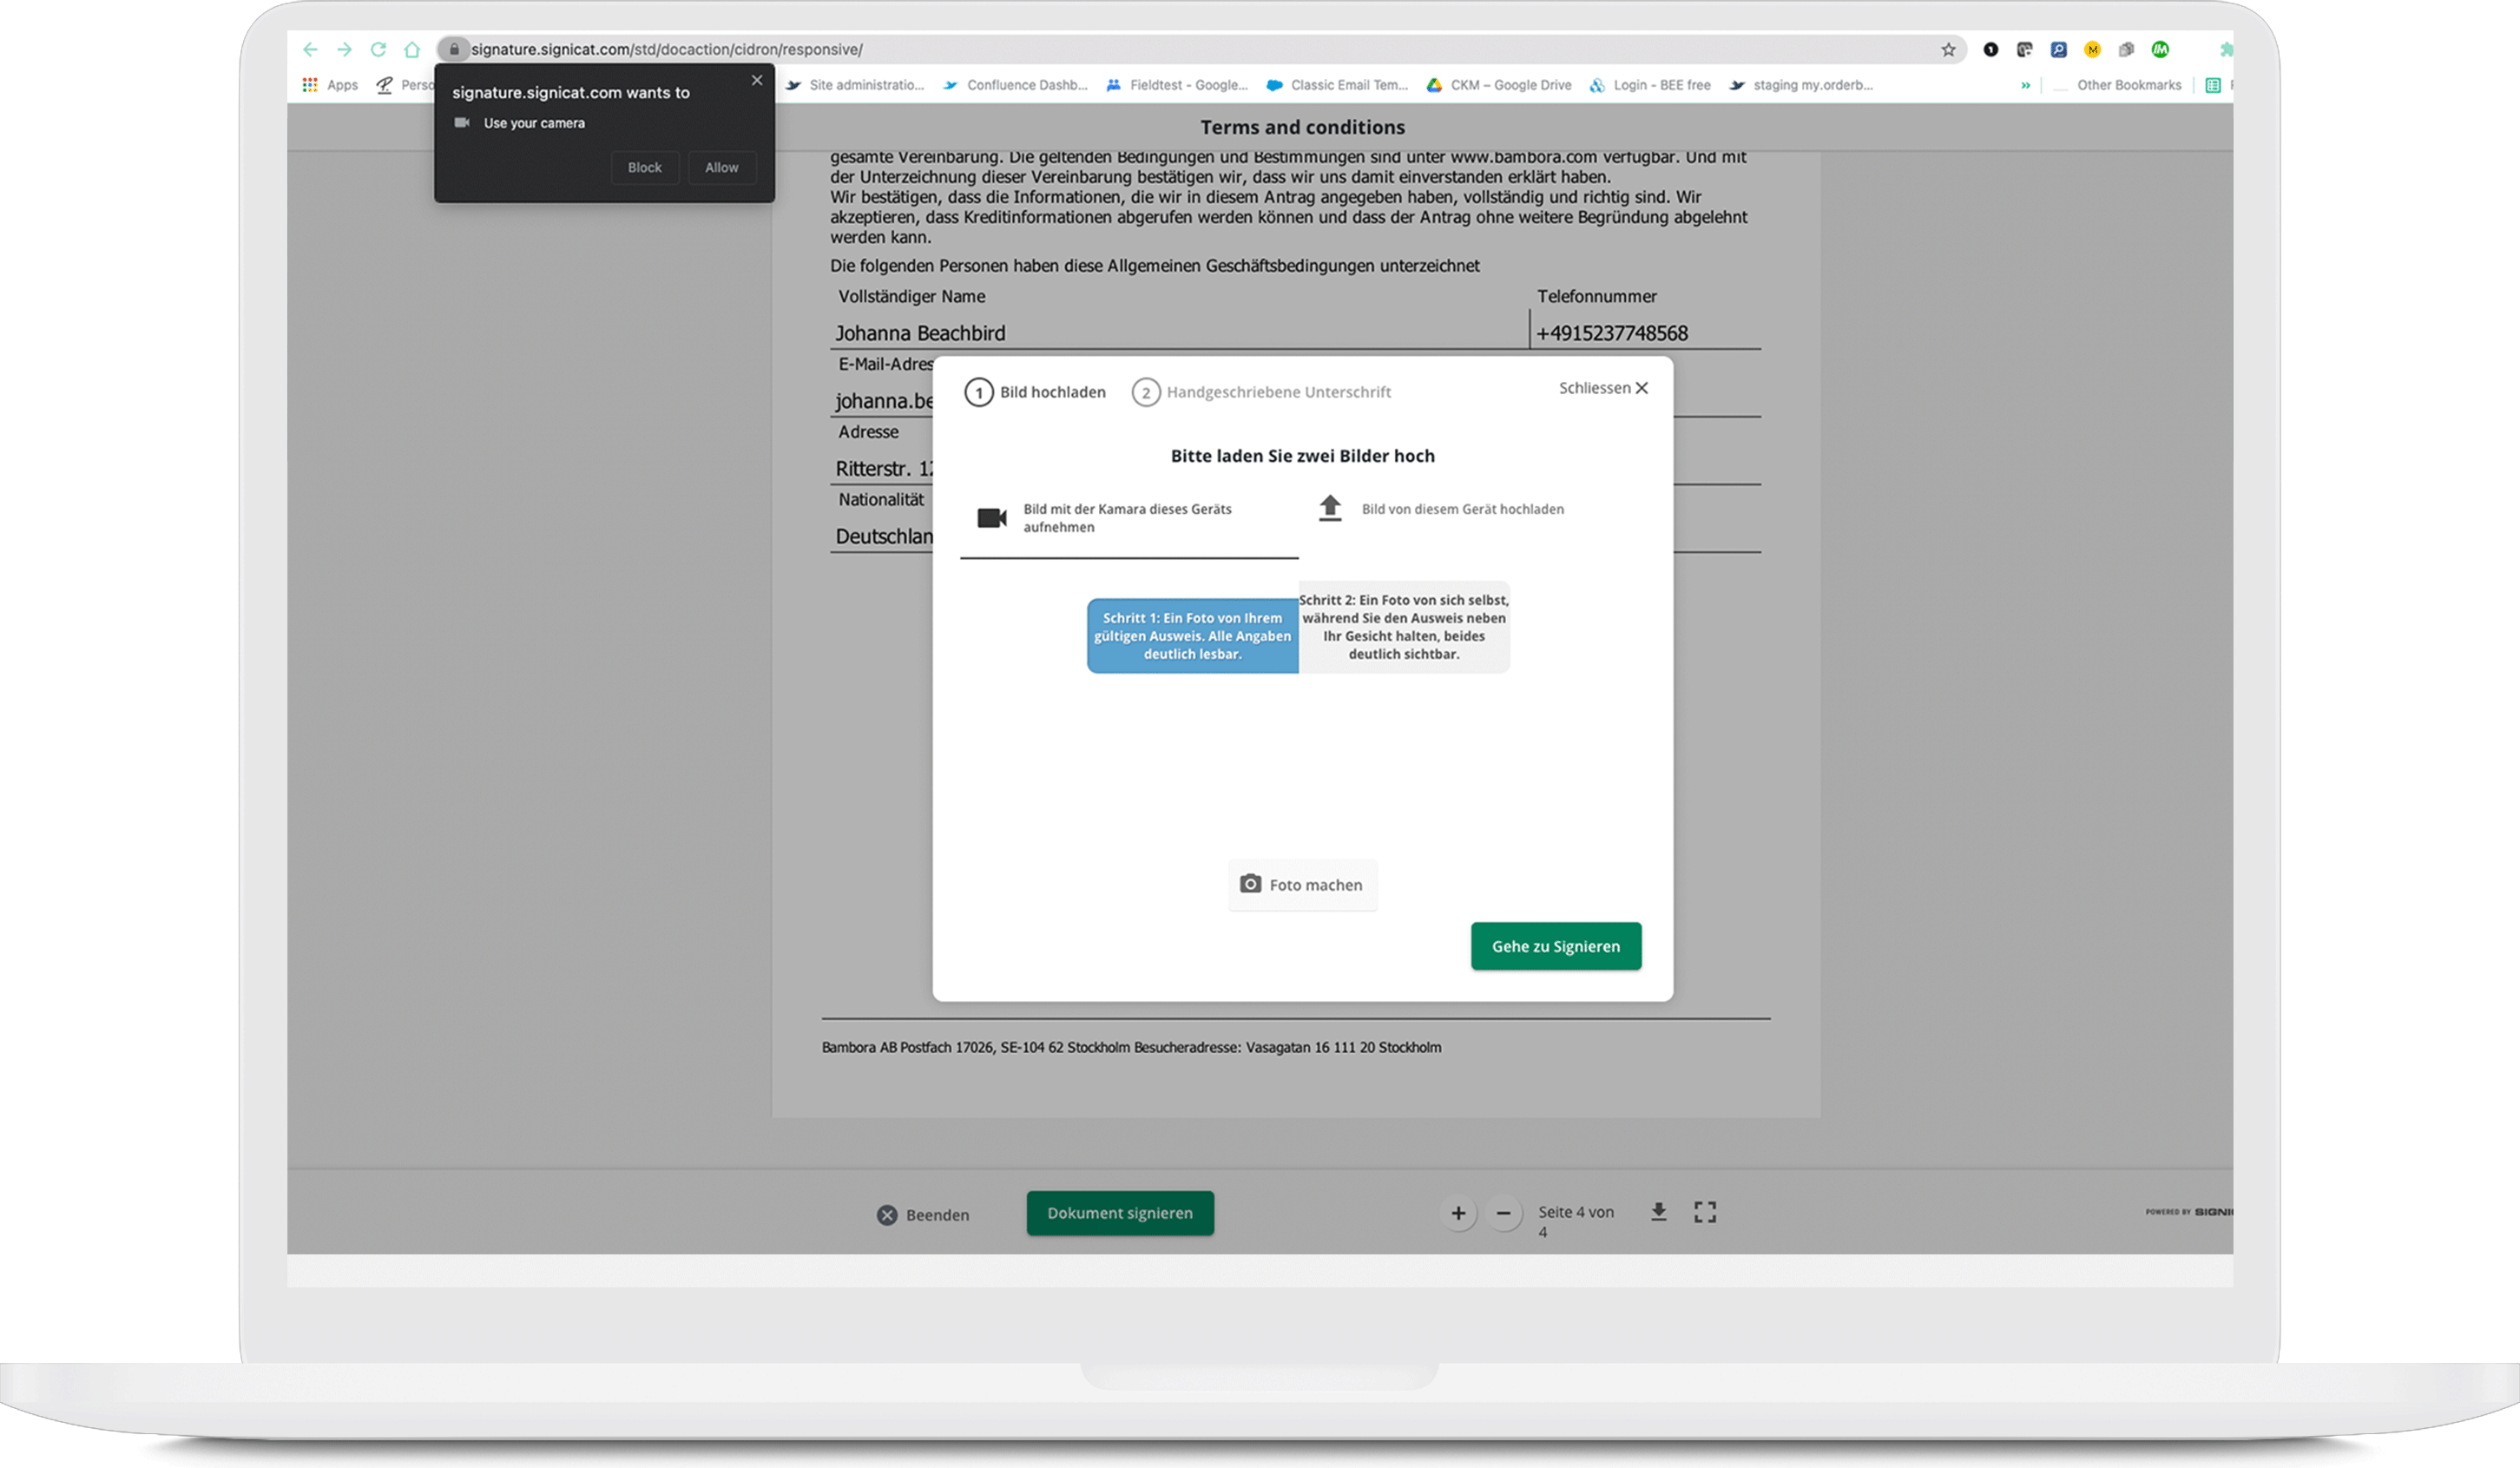
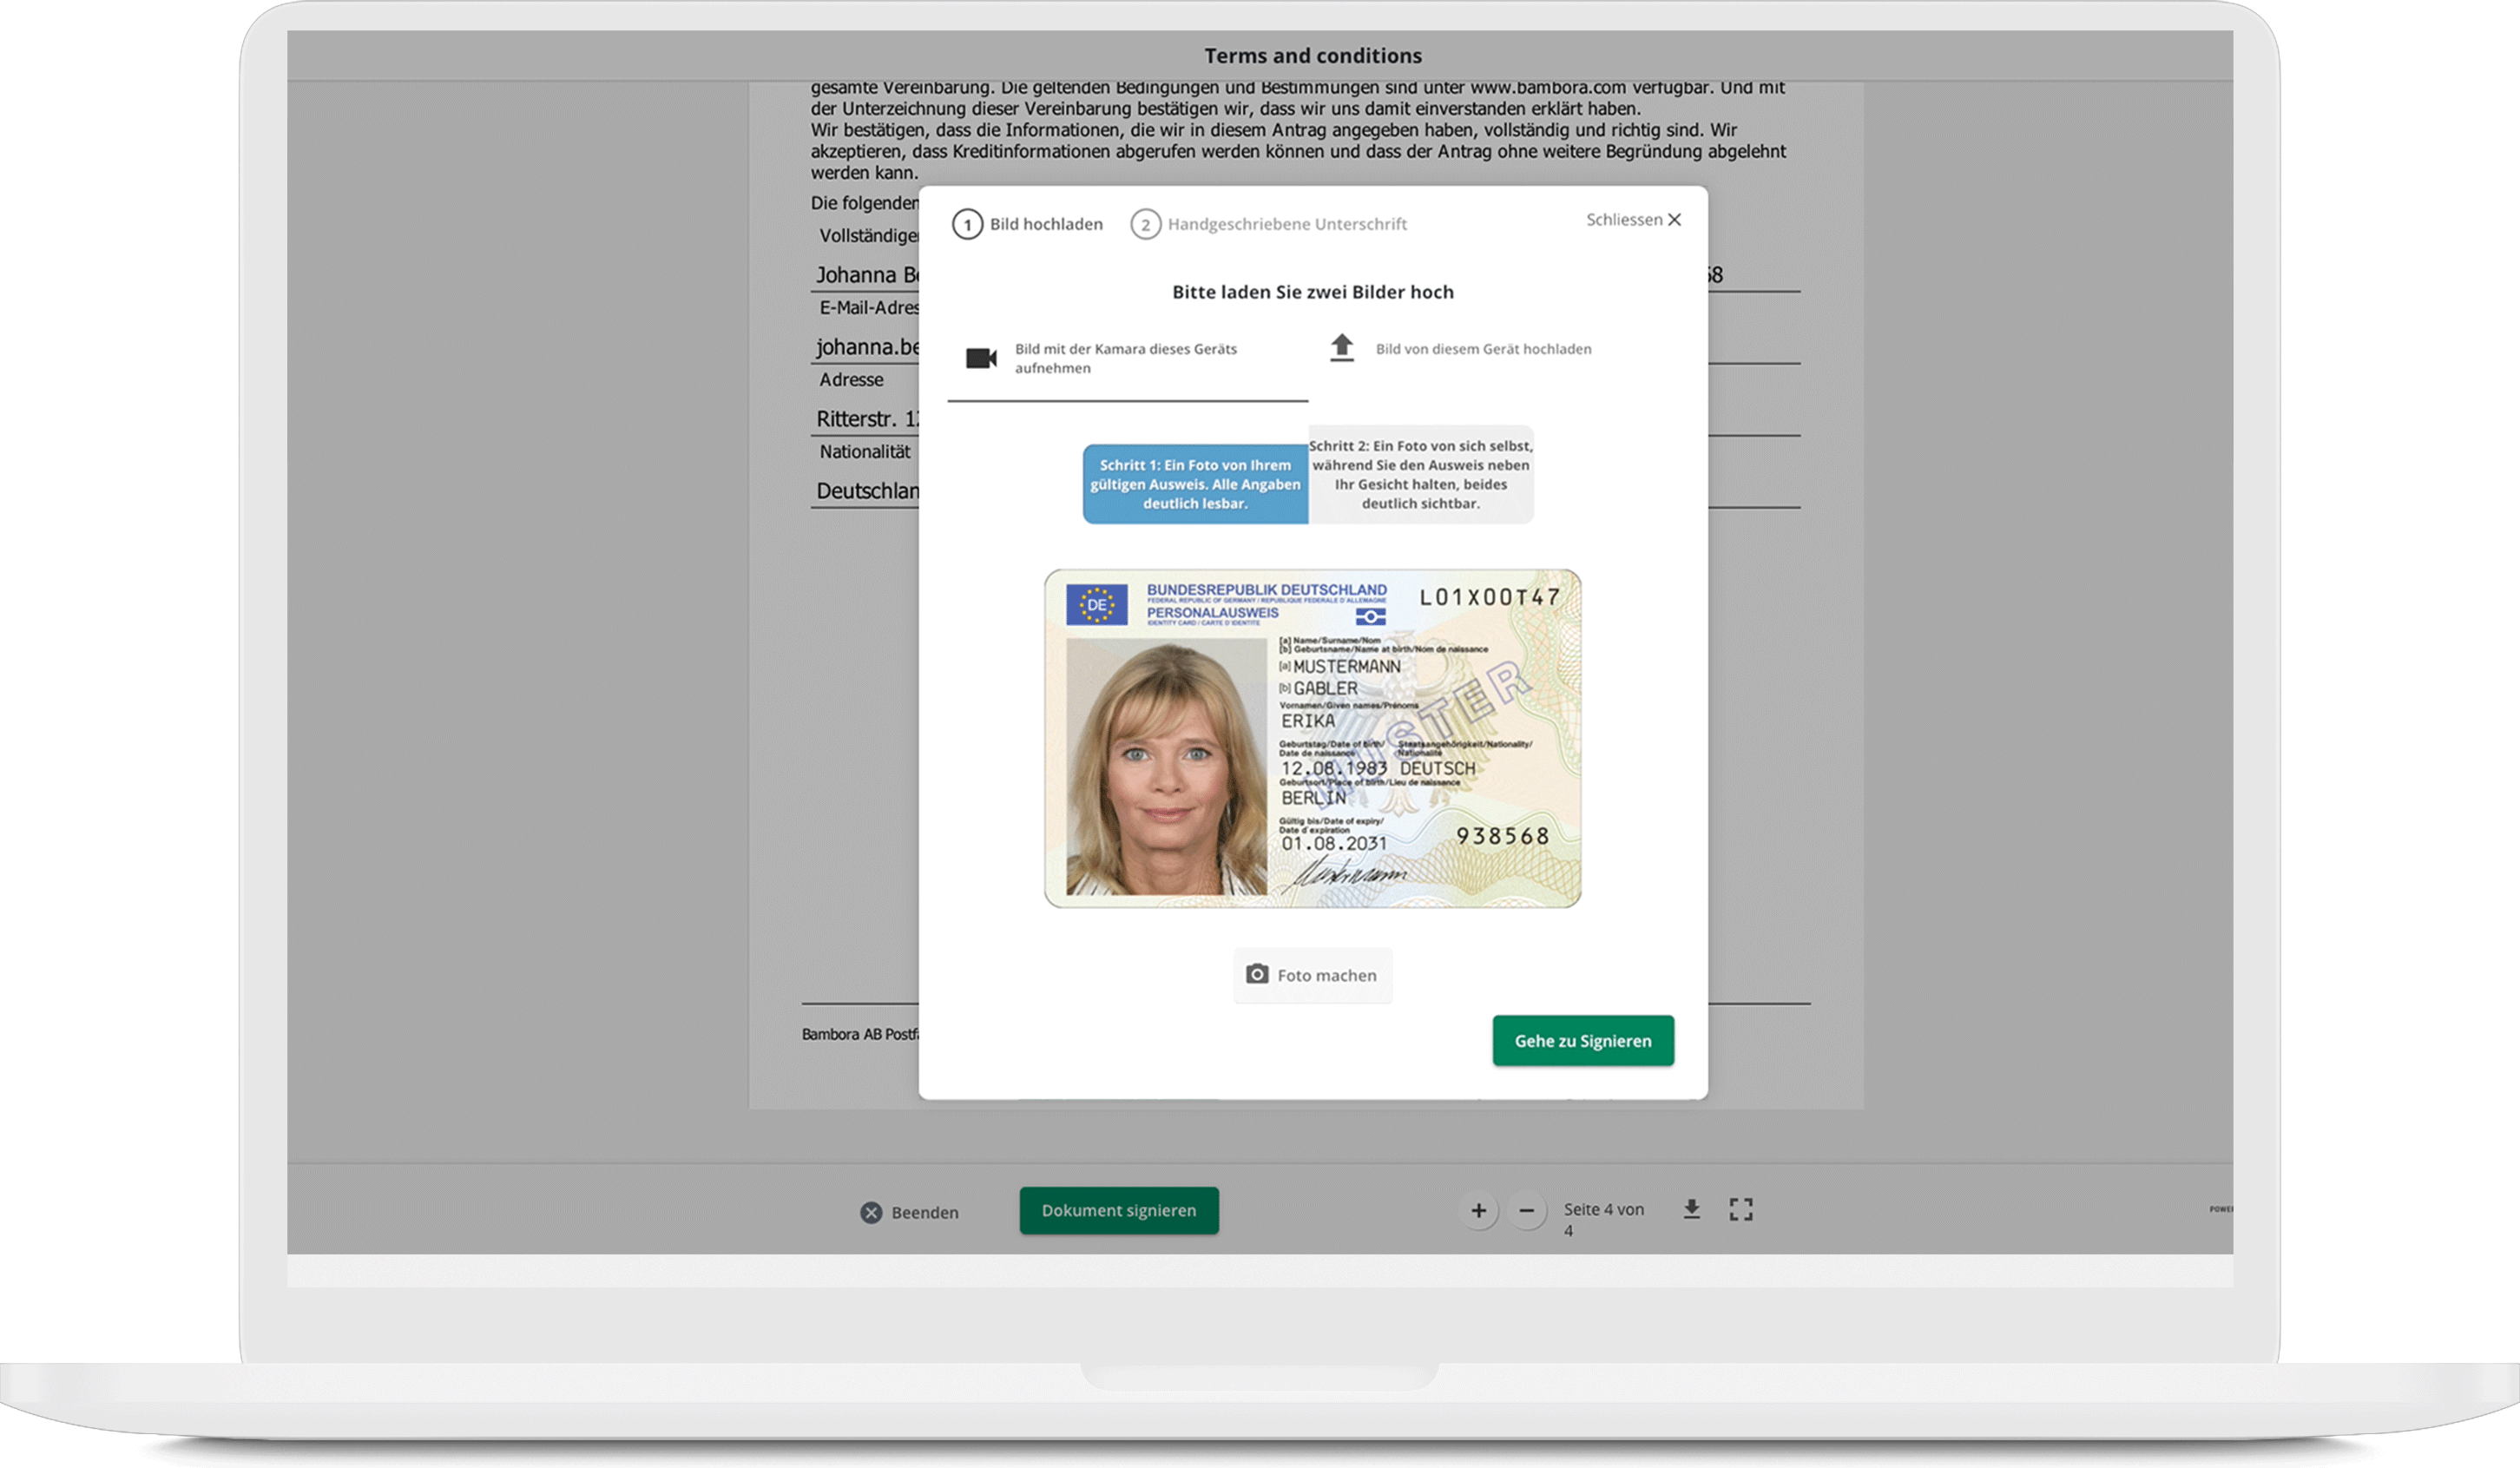
- Next, upload two pictures (max. 3 MB each, JPG or PNG only, no PDF):
- first, a picture of your ID
- … and second, a picture of you holding the ID document next to your face.
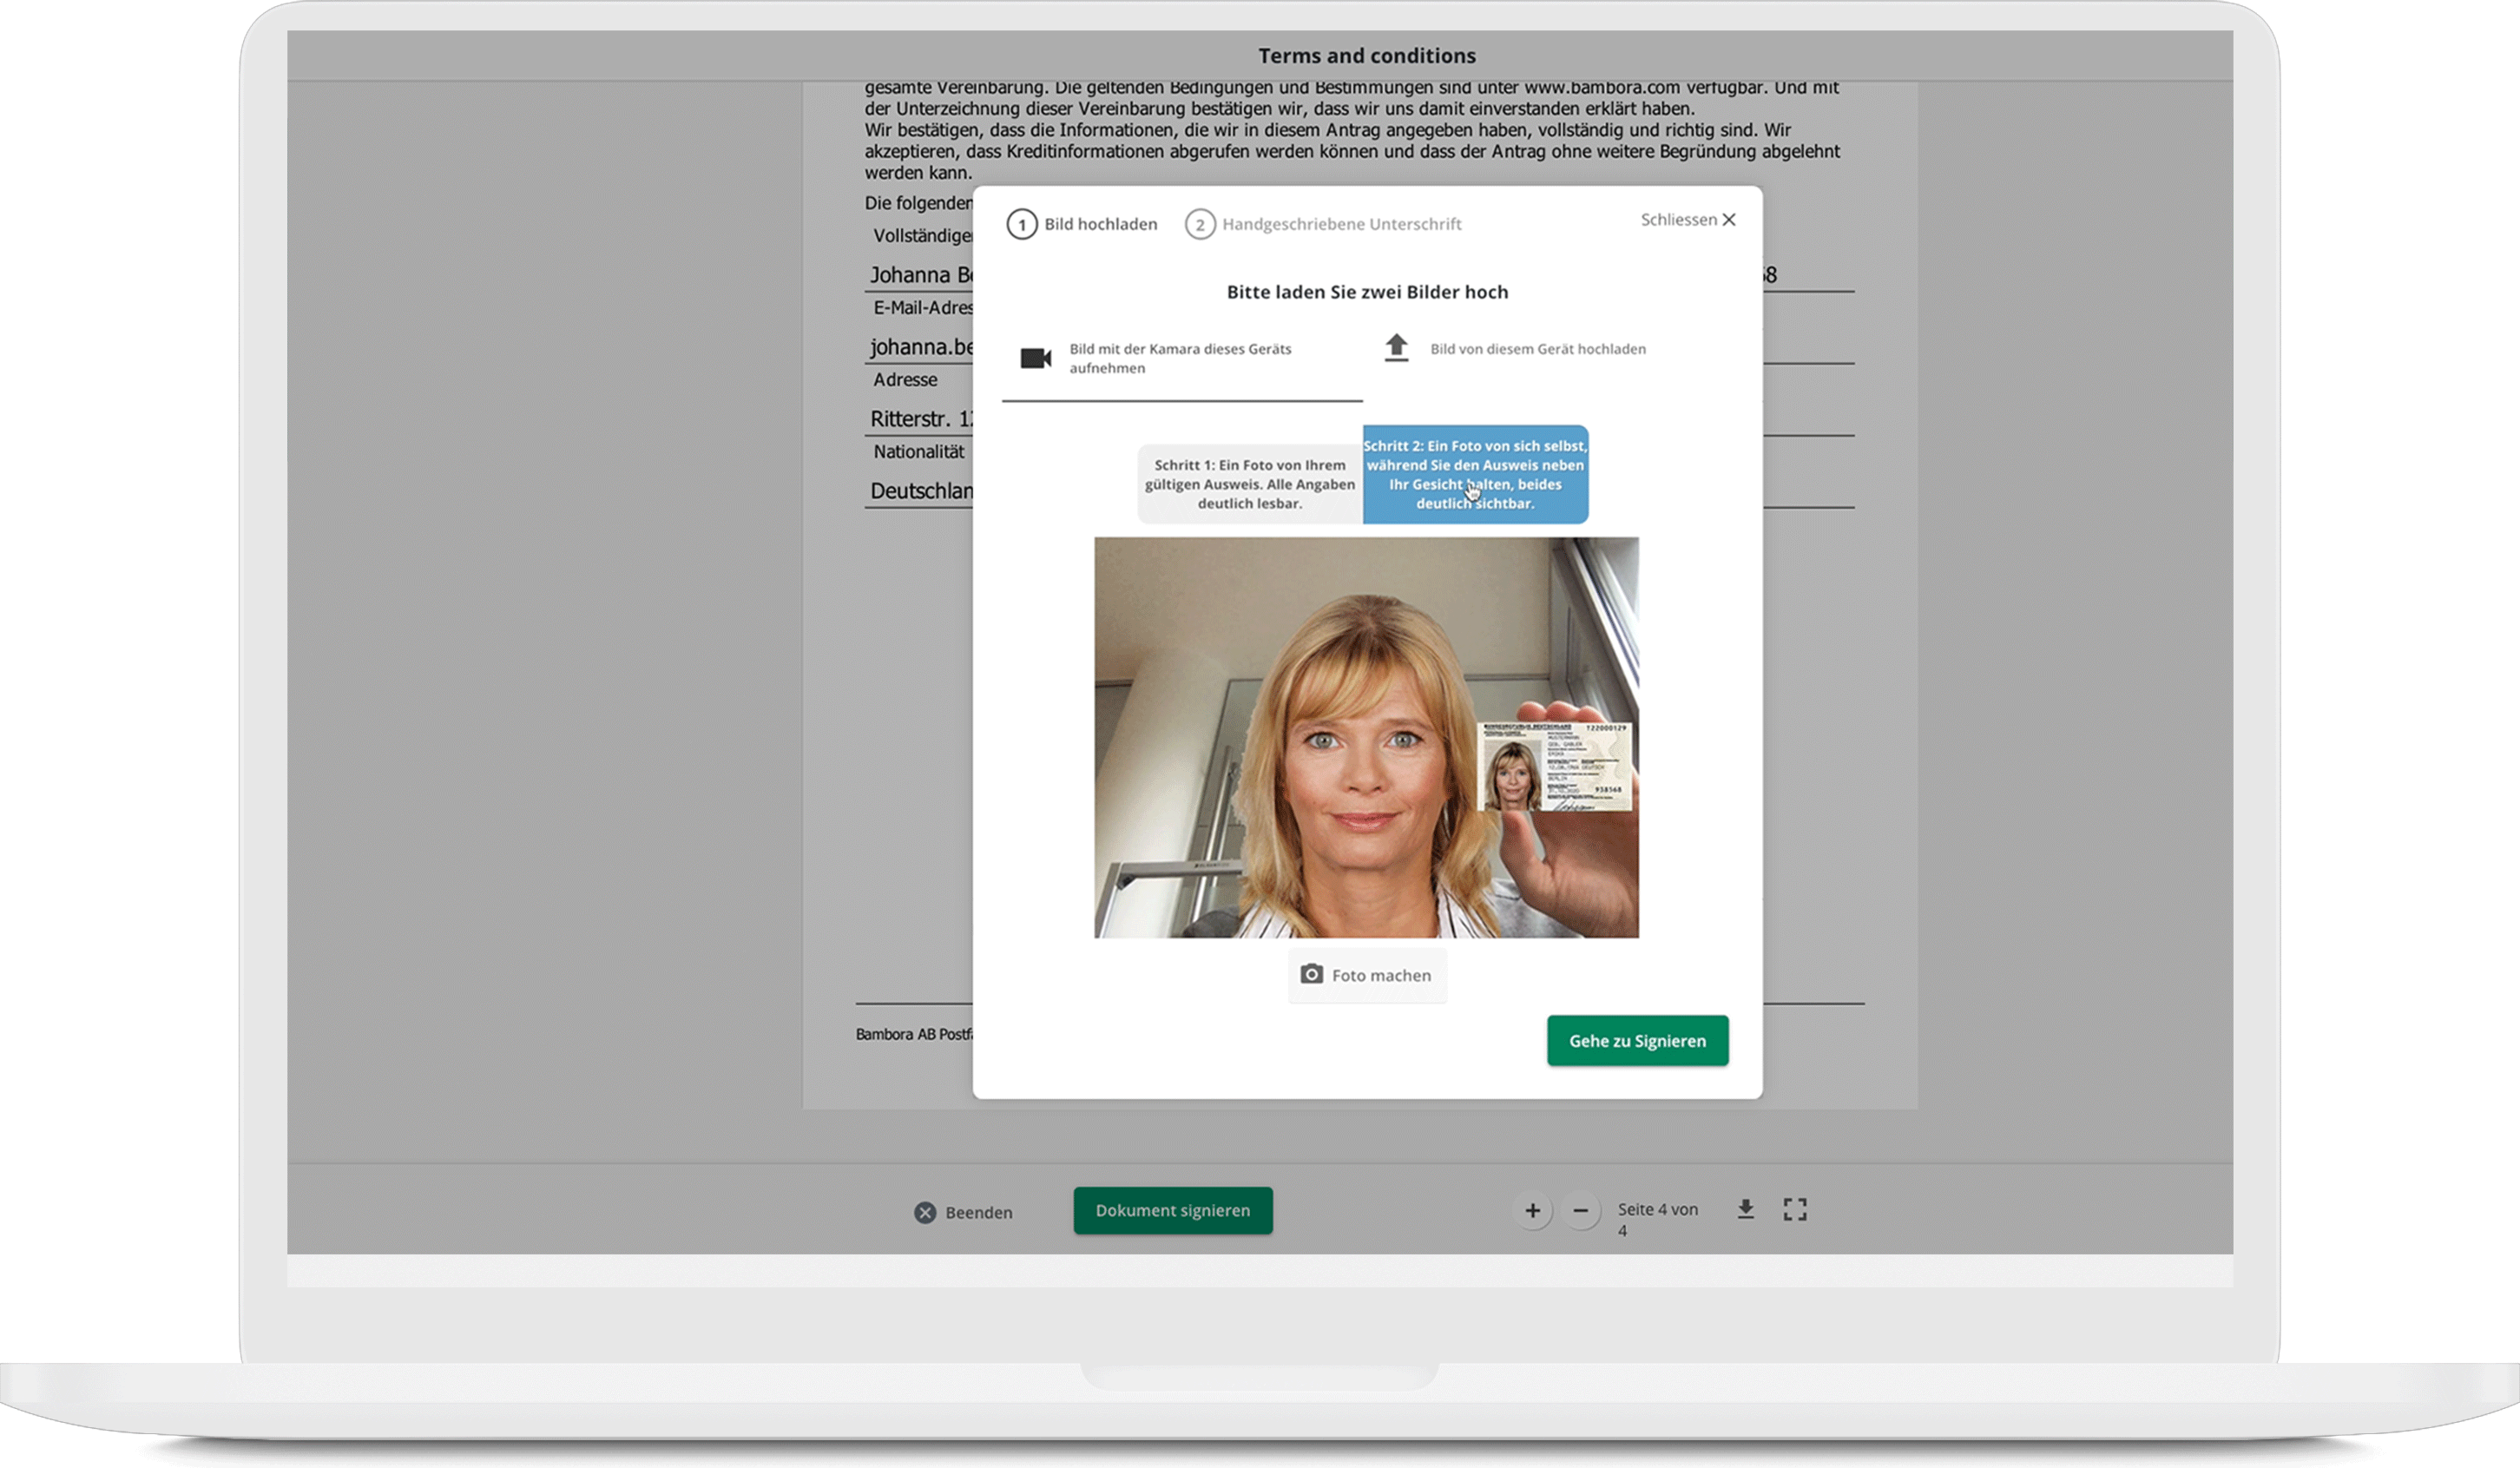
- first, a picture of your ID
- Now click “Gehe zu Signieren” (Go to sign) and sign directly on your device.
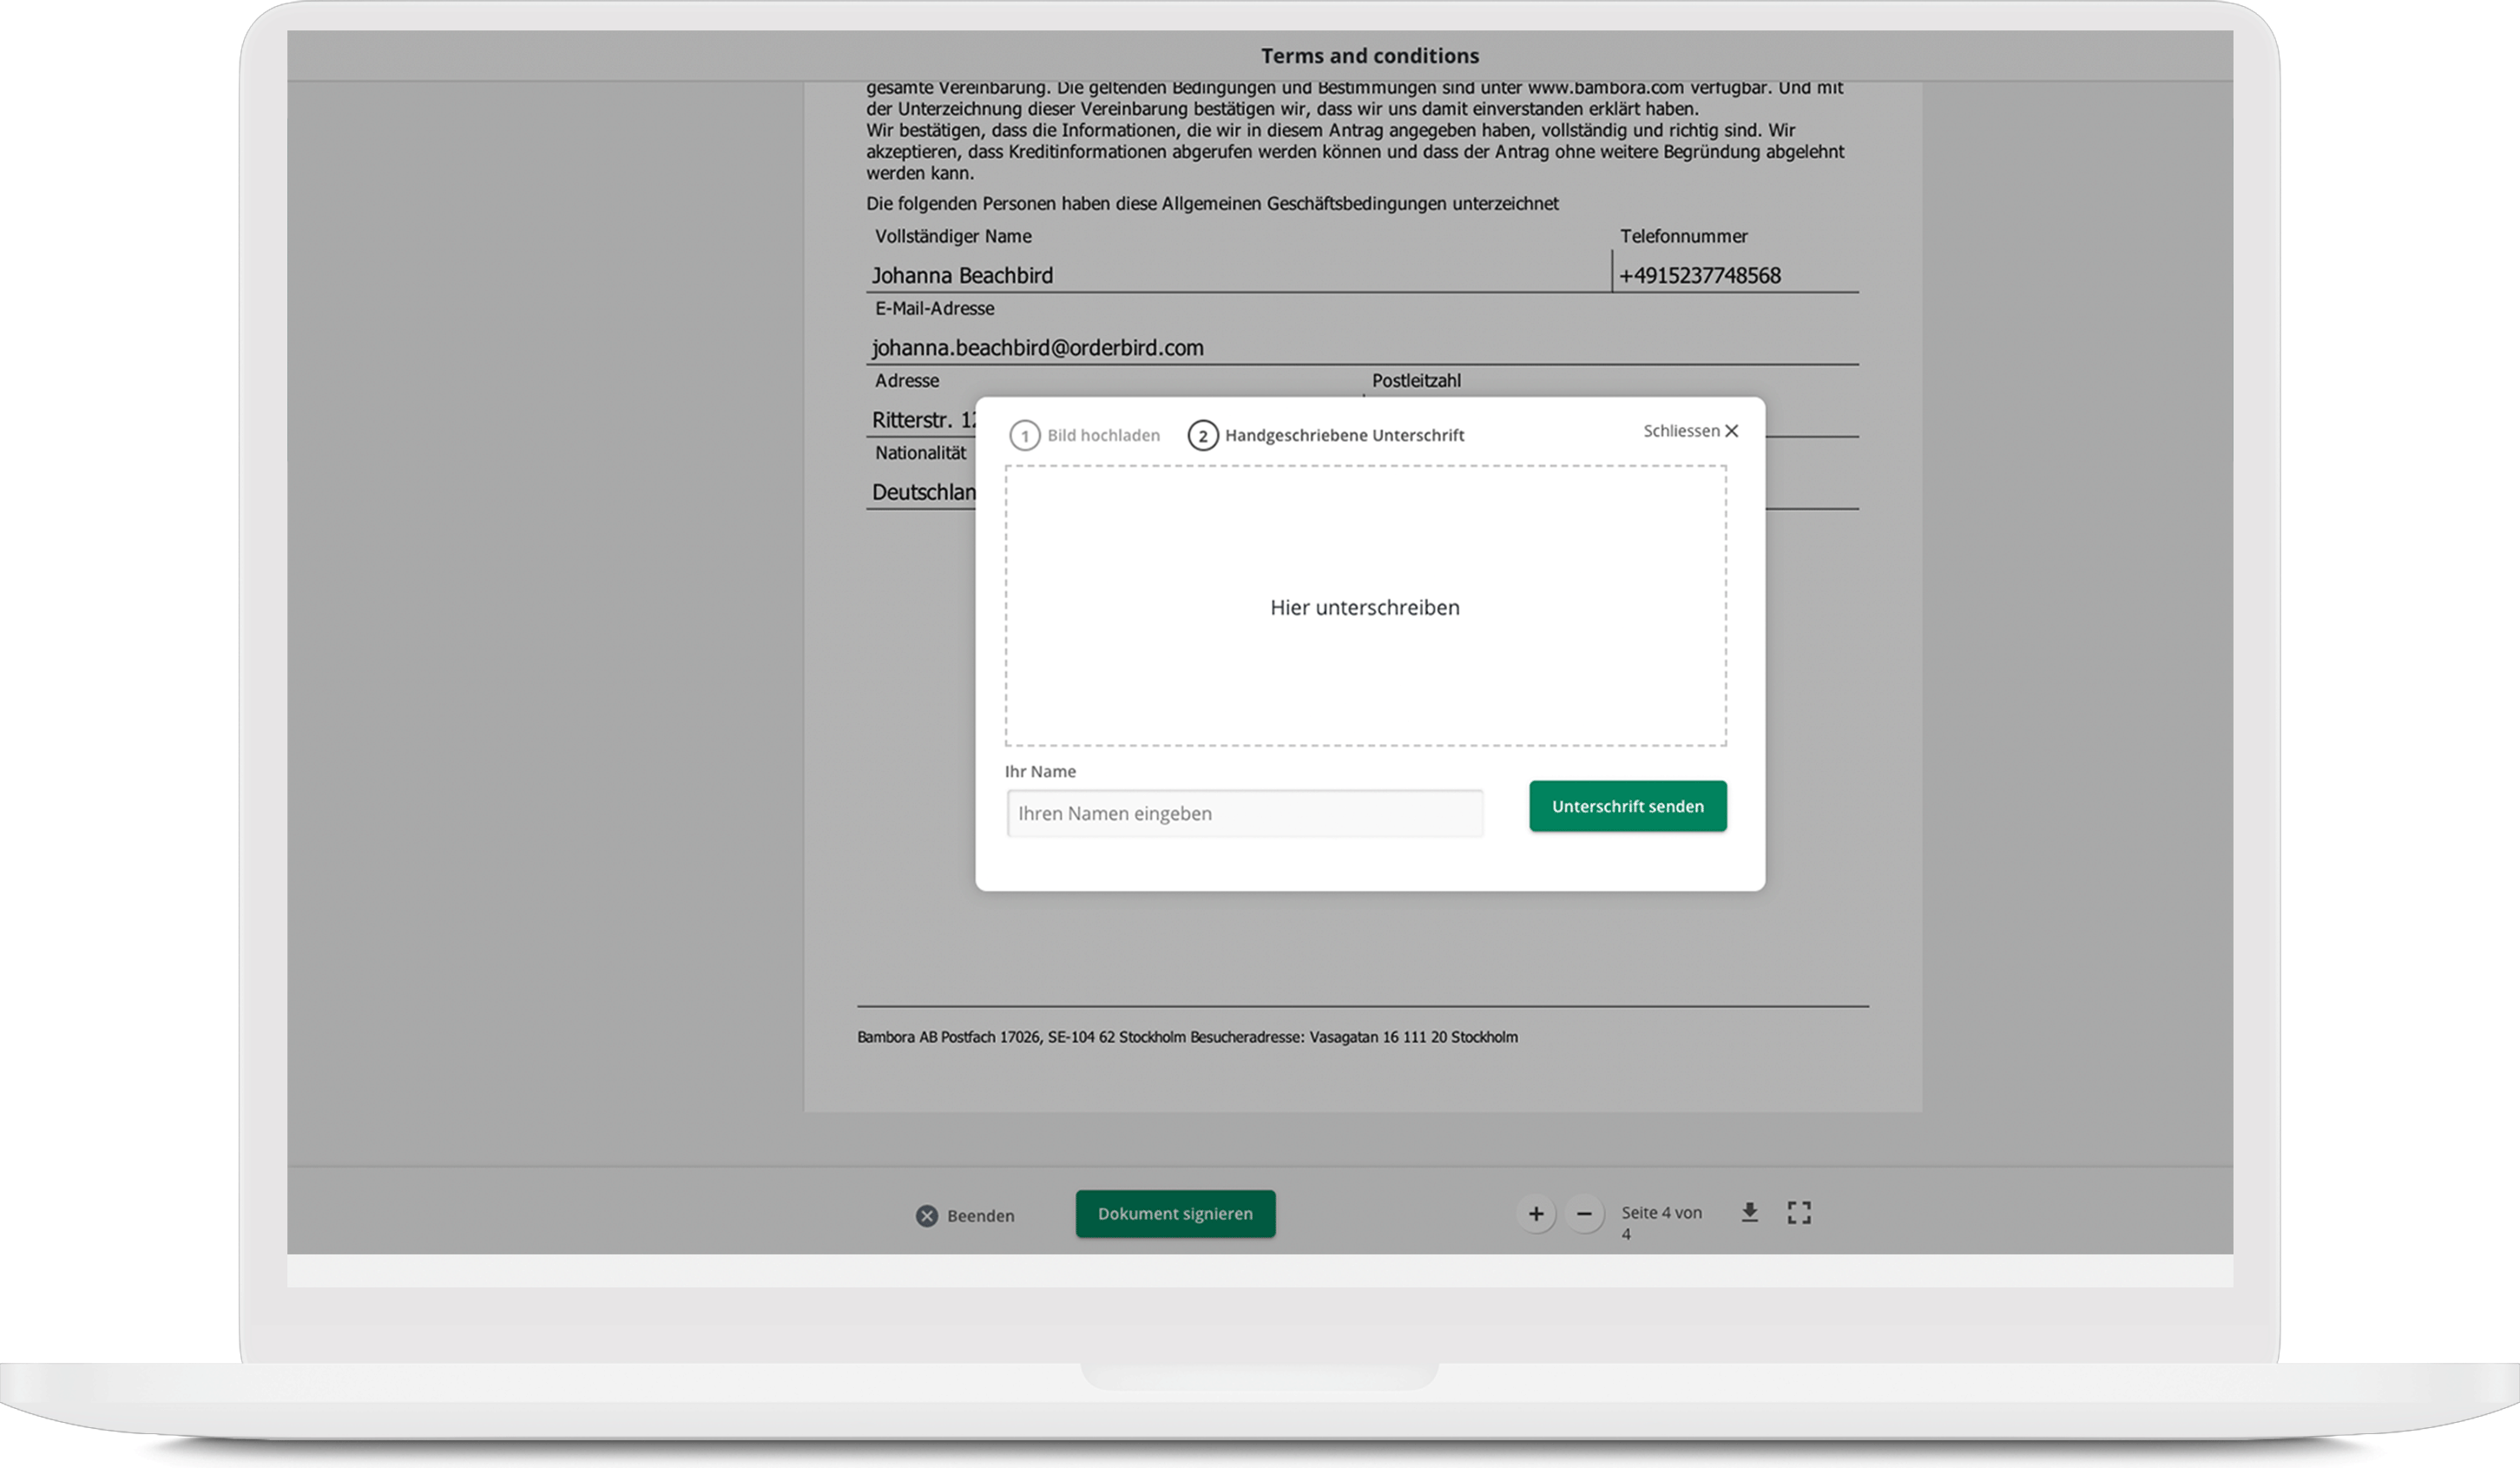
You can sign with your finger if you have an iPad, iPhone, or iPod. If you have a desktop, please provide your signature with the mouse.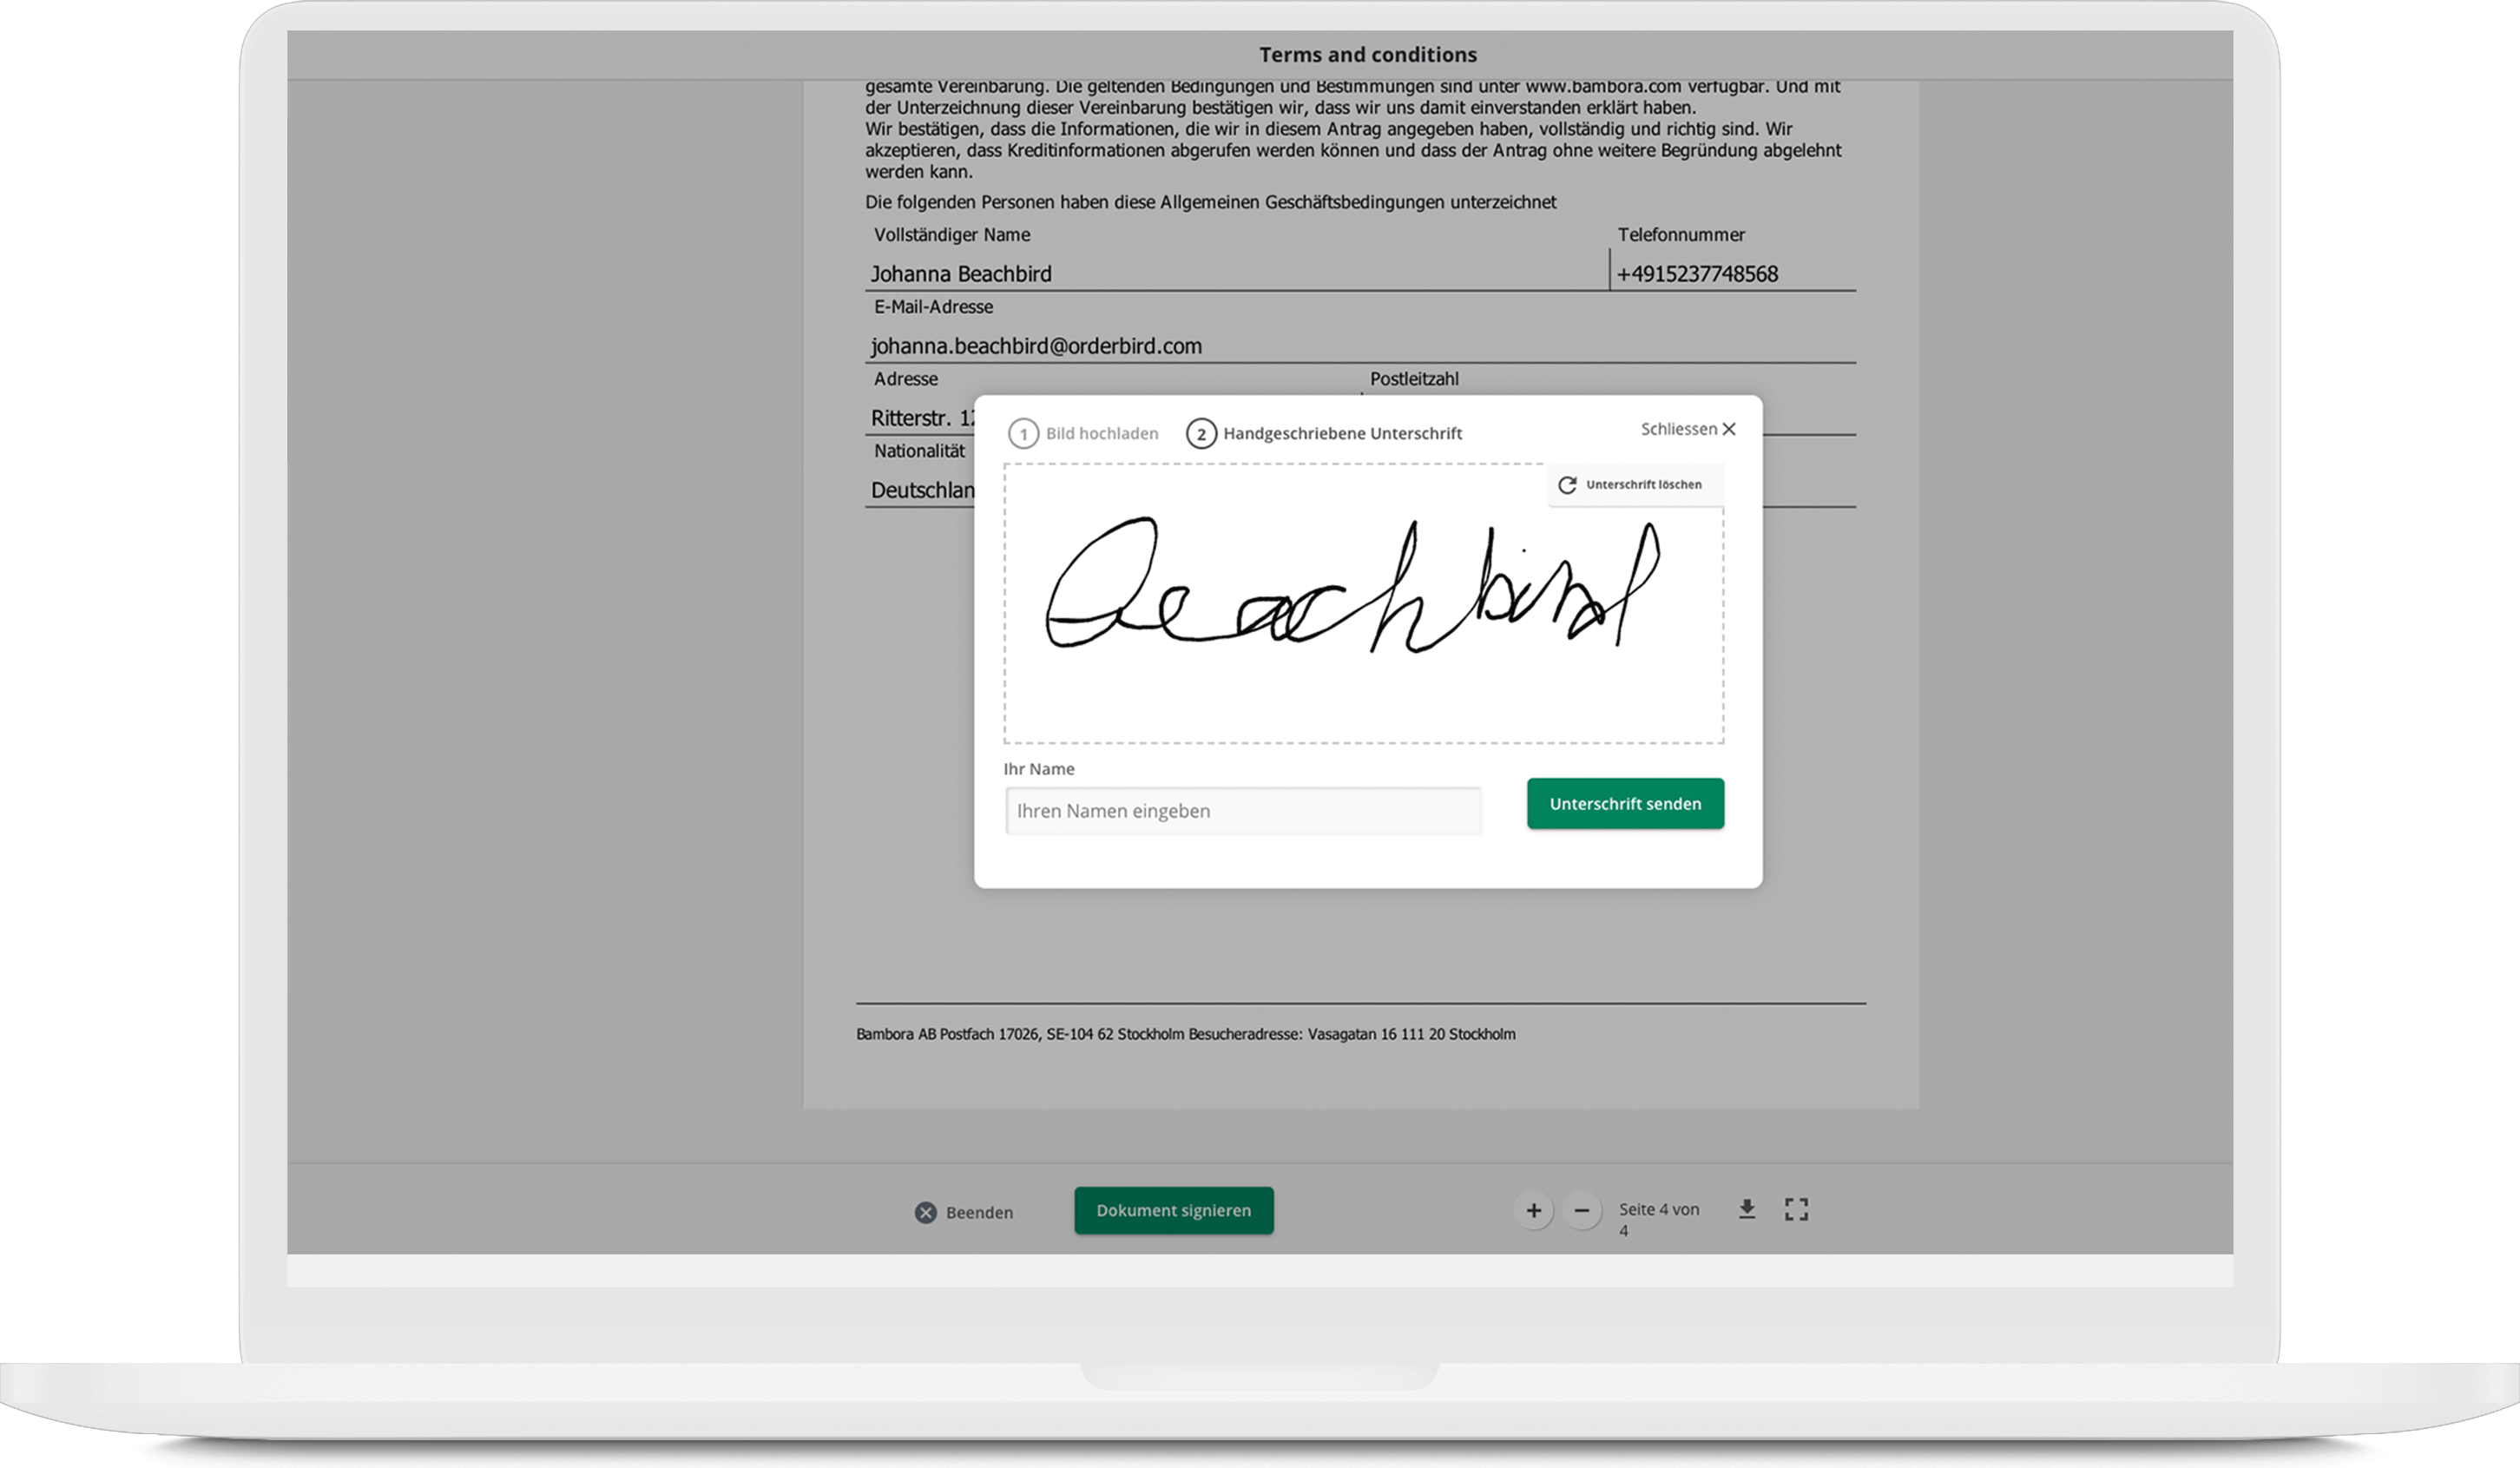
- Click on “Unterschrift senden” (send signature)
- DONE!
Now it’s time to be a bit patient. Worldline will get in touch with you—either to let you know that everything went smoothly or to inform you that additional documents or similar items need to be submitted.